Guide | MobiPOS > Settings > Stock File > Add Category
Add Category
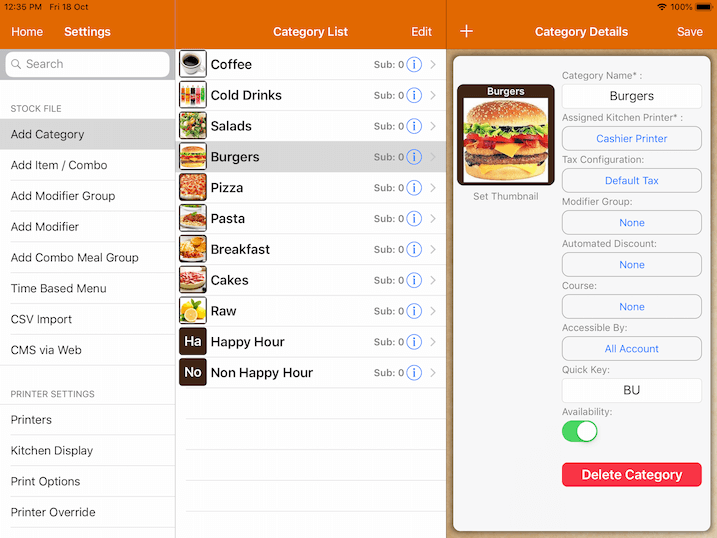
Assigned Printer
This controls the kitchen docket for items under this category.
If the item has no printer assigned, it will follow its parent category assigned to a printer.
If you do not wish to print the entire category, you should set it to *Do no print.
Tax Configuration
If you have different tax configurations for different categories., you could set them here.
The default tax will apply to all taxes that are configured under the tax settings.
Modifier Group
Similar to the modifier group assigned at item, however applying modifier group here will be applied to all item under this category.
Do note that it will only apply to this category, but not the subcategory beneath this category as well.
Automated Discount
The order level discount will be applied to all items under this category.
Accessible By
Disable certain user accounts to access the category.
It will be hidden from the inaccessible user.
Quick Key
To use the quick key, you have to set up the quick key under the item as well.
Setup "PI" for the category and "01" for the specific item. Then you could tap "PI" then "01" to order.
Availability
You could disable the entire category including the items under this category.
Moving category position
Beside the category list, you will find the Edit button.
Click on Edit, hold and drag the 3 bars icon in every category to move it around.
Click on Done to save.
Reporting Category
Follow this guide to configure Reporting Category if you would like to have a report on Category Sales with a few sub category grouped into one main category to refer for your own convenience. For example, all sub types of drinks like Cold Drinks and Coffee will be grouped into Drinks as the main category.
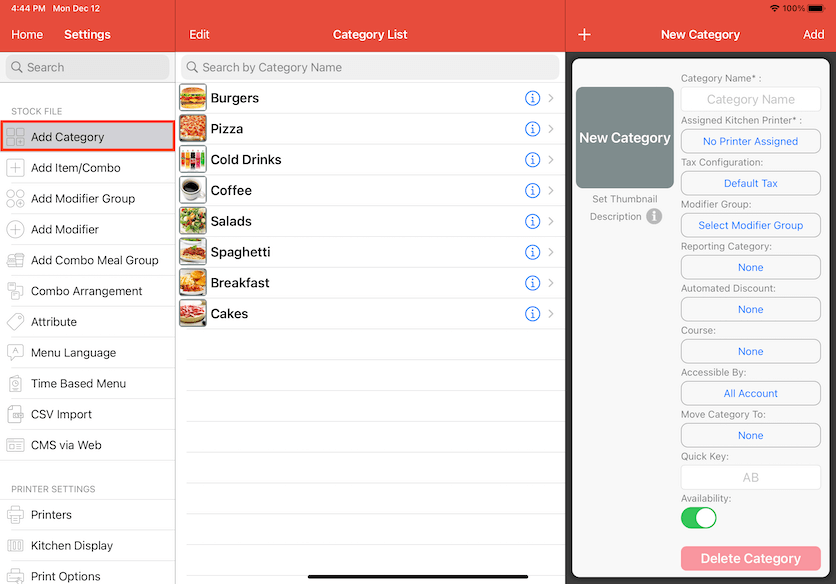
To do this, go to Settings and select Add Category.
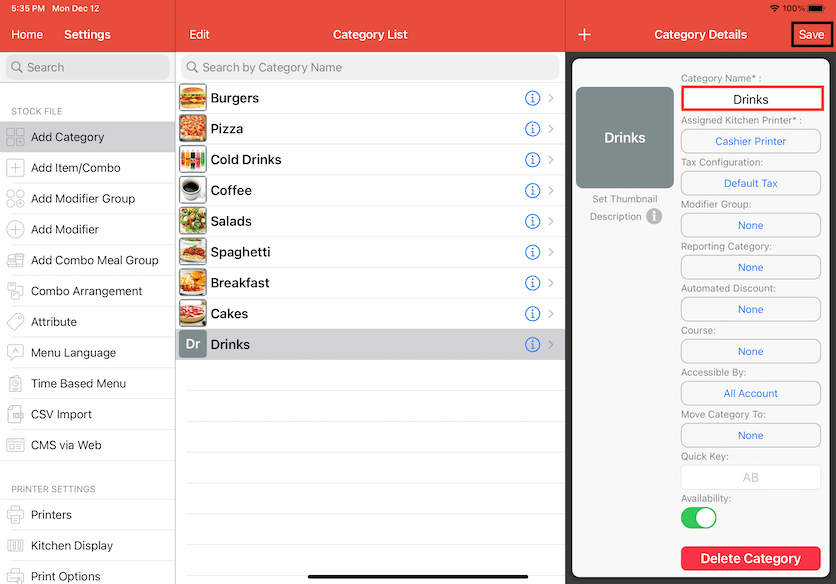
Enter the new Category Name. In this example, "Drinks" is the main category name. Click Save on the top right corner.
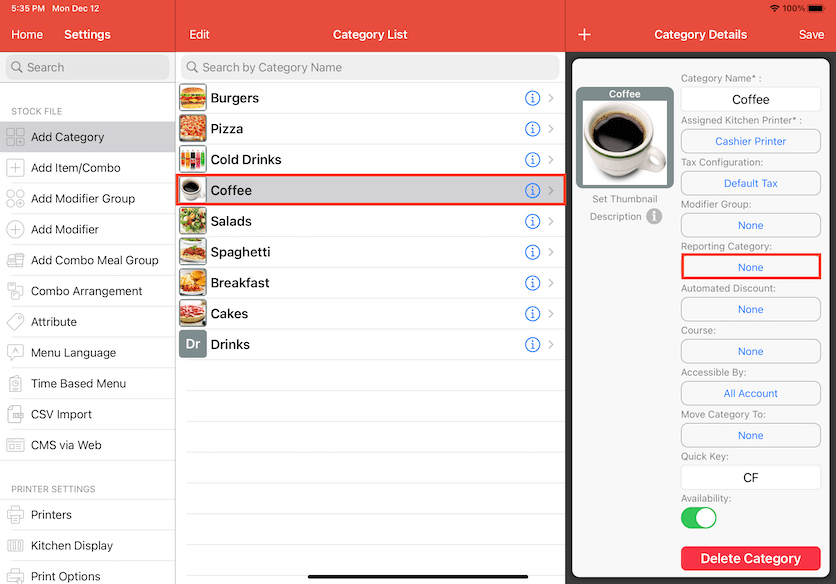
Select the sub category that you would like to assign to Drinks. In this case, Coffee has been selected. Click on None to edit Reporting Category.
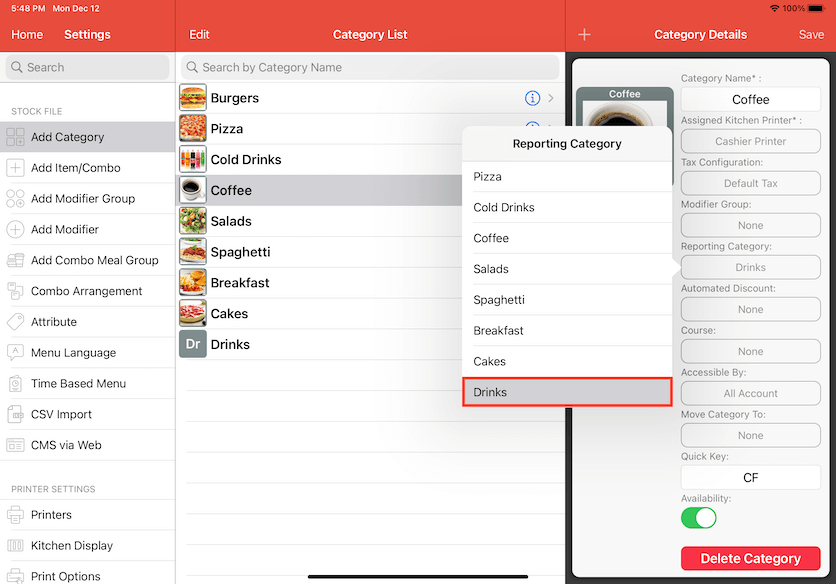
Select Drinks in Reporting Category to assign Coffee to Drinks.
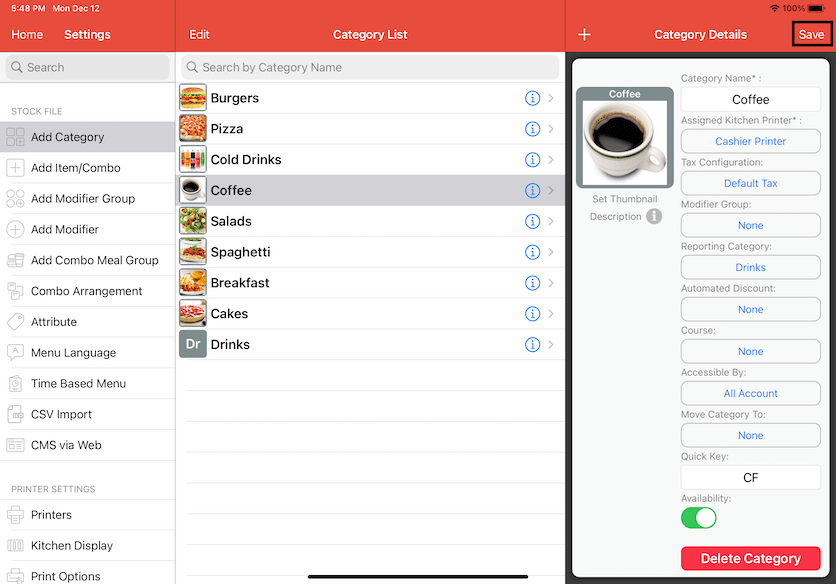
Click Save after to finalise.
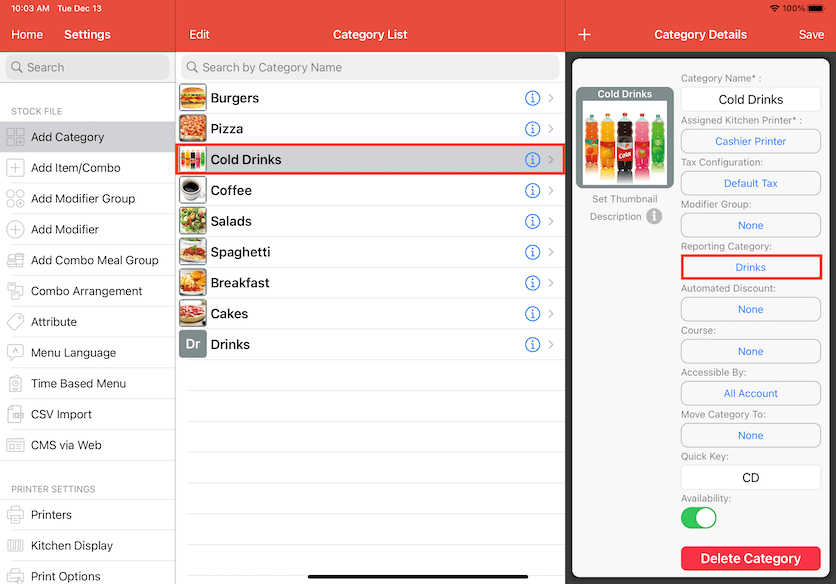
Another example here which Cold drinks have also been assigned to Drinks in the Reporting Category using the above steps.
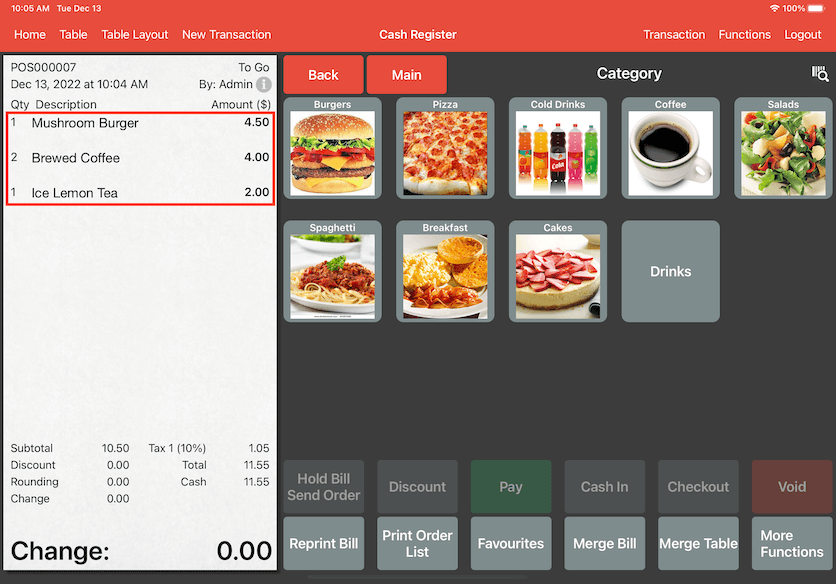
Select the items in the Cash Register and make the payment when the customer is ready to pay. Once the payment is made, these items will appear in the Report for the sales made today.
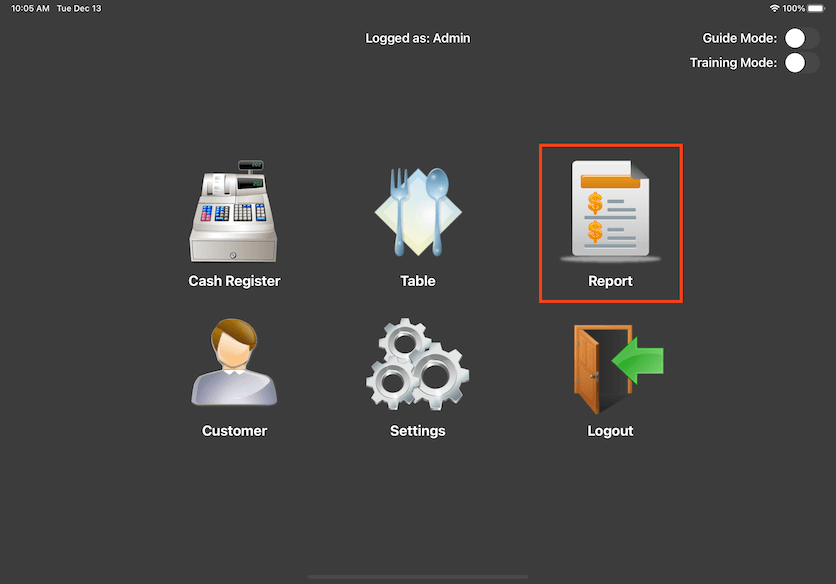
To look at the Category Sales in Report, go to the main page and click on Report.
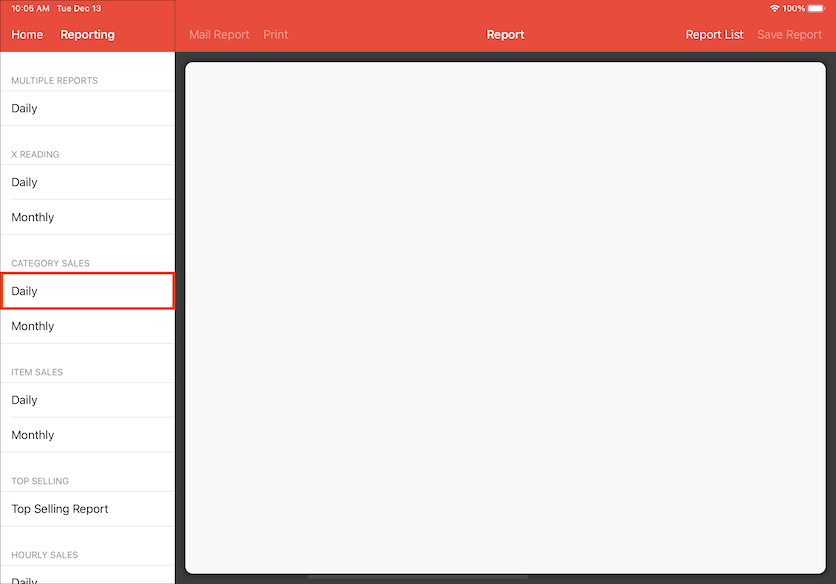
You can choose which Category Sales report you want to generate depending on the time frame, whether it be daily or monthly. In this case, we will look at Daily category sales. Click on Daily.
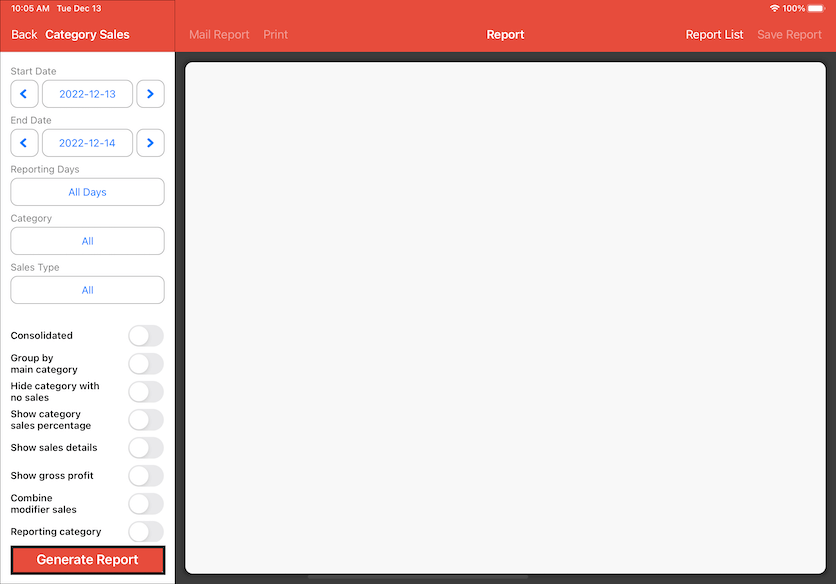
Click on Generate Report.
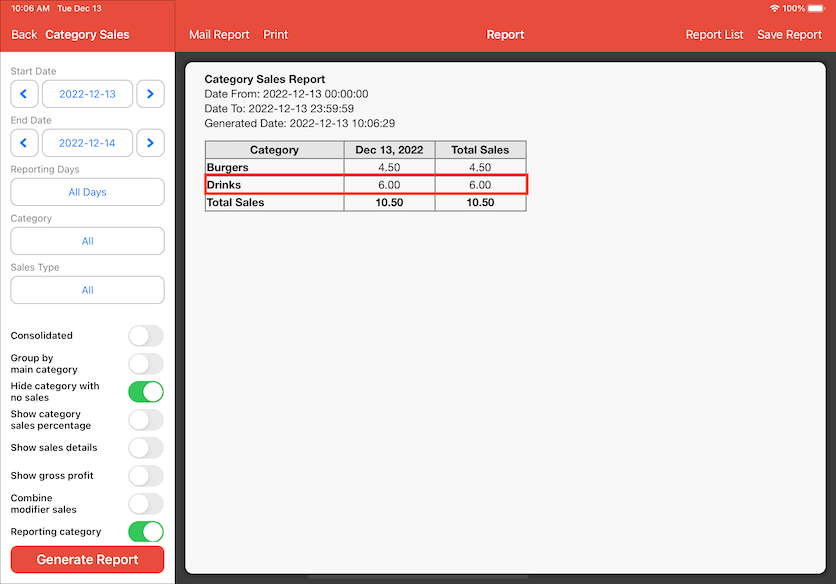
A Category Sales Report has been generated and it shows the sales the restaurant has made today. However, we only want to look at the sales of Drinks, which is the main category of all other beverages.
Click to turn on Reporting Category. We can also hide categories that did not make any sales today. Click to turn on Hide Category with No Sales then click to generate the report again.
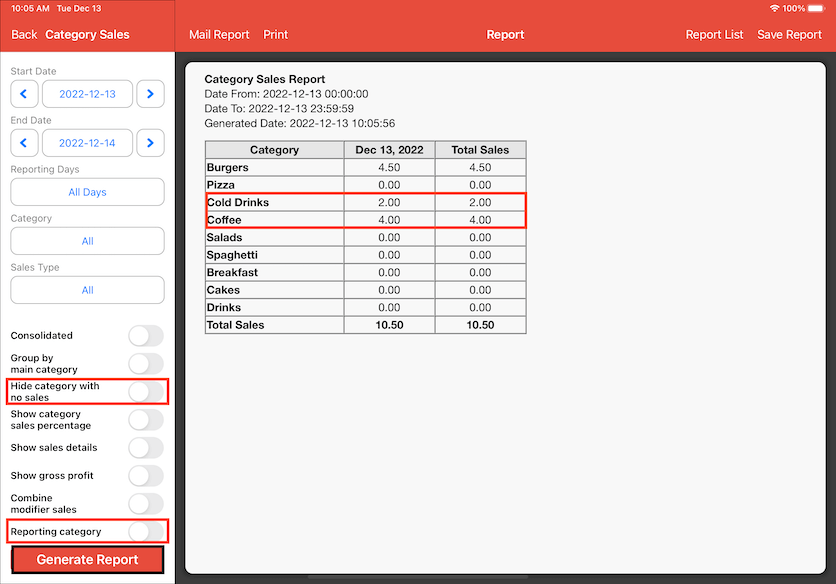
Now the report shows the sales of Drinks and Burgers only, instead of all other categories of beverages like Coffee and Cold Drinks.