Table Layout
Selecting Table
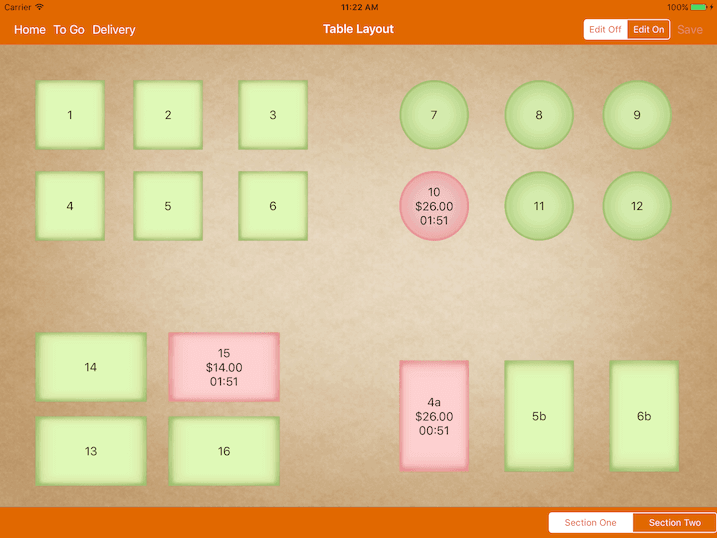
Tap on a green table to begin a sale.
Table that is red is occupied.
Table that is orange represent that current bill for that table has been printed.
View Table Bill
Single tap on red table and click on View Bill to view the bill.
You could change the pax number by clicking the + and - sign.
Table Layout
Swipe left or right to move between layout.
Click on table layout name below for quicker access.
Add Layout
You could add up to 8 layouts. Layout size is fixed for each.
Edit Layout
Edit layout to delete or arrange them.
Add Table
Table can be in square or circular shape. 5 different sizes for each.
In edit mode, hold and drag the table to move table position.
Table will automatically aligned to grid.
To Go
When edit mode is off. To Go button will appear on the left top.
It's is a shortcut key to start take away order from table layout screen.
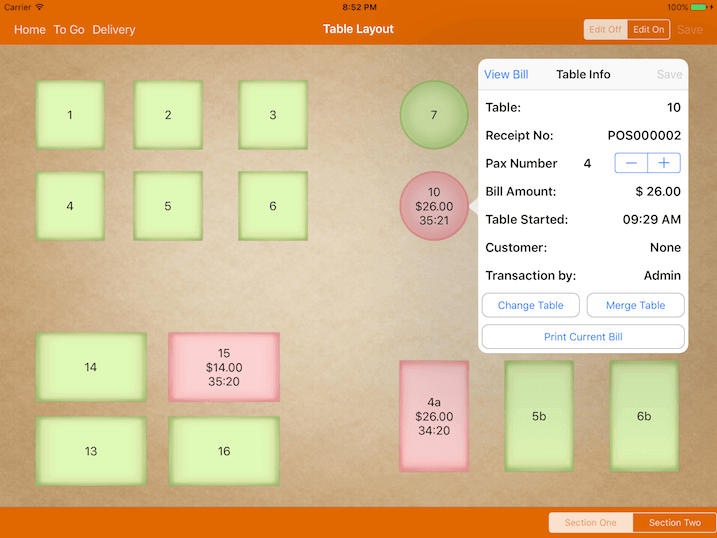
Print Current Bill
Single tap on red table and click on Print Current Bill to print.
If there's multiple bill within the table, you could print all current bill at one go.
Change/Merge Table
Upon clicking on Change/Merge Table, select the next table that you would like to change or merge to. During the process, click Cancel which is located at the left top of table layout to cancel the action.