Guide | MobiPOS > Table > Table Setup
Table Setup
Table setup allows the user to design their own restaurant floor plan.
In order to do that, it has to be in edit mode.
Under Table, switch to Edit On located at the top right corner.
Do note that the user has to click on 'Save' after changes are made.

Add Layout
The system comes default with 2 layouts, and it can be configured up to 8 layouts.
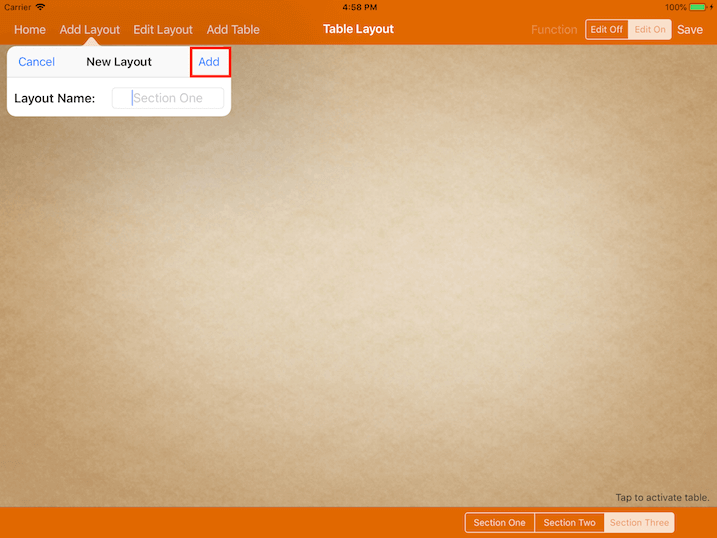
To add a new layout, click on Add Layout at the top left corner.
Enter the layout name, then click on "Add" at the
top right corner of the "New Layout" tab as shown below.
Do note that the layout size is fixed to each of the iPad screen sizes.
Edit Layout
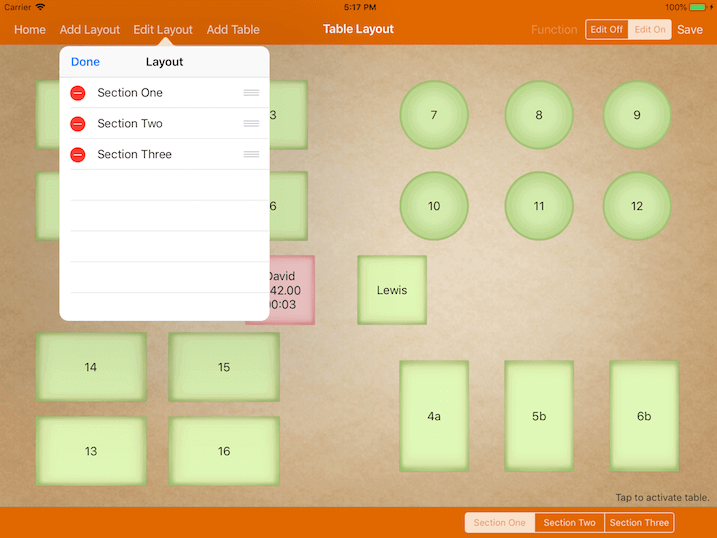
To edit the layout name, simply select the desired layout and it will be shown as the image below.
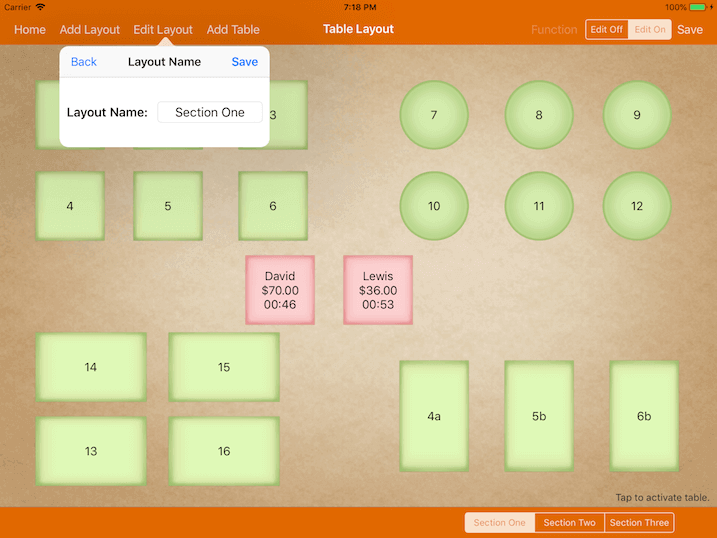
Upon re-naming the layout, the user has to click on 'Save'.
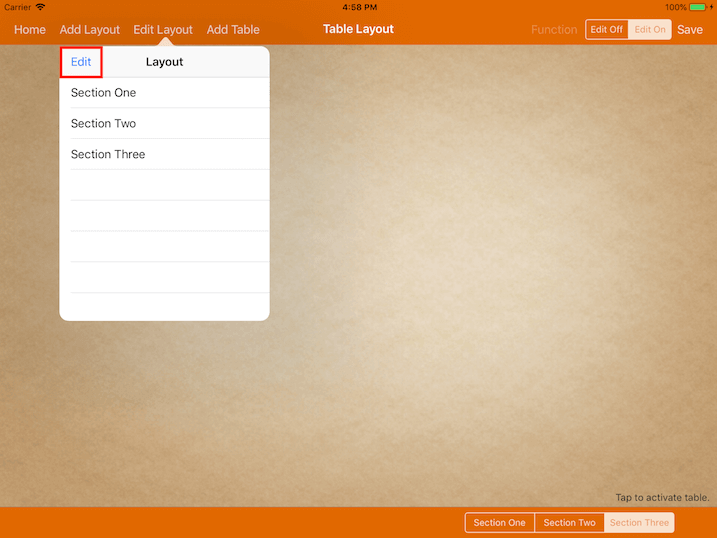
The user can also delete or re-arrange the layout.
Simply click on "Edit" at the top left corner under the "Layout" tab as shown below.
To remove a layout, click on the '-' icon followed by 'Delete'.
To re-arrange the layout, click on the '3 bars' icon on the right and hold it to move it up or down.
Add Table
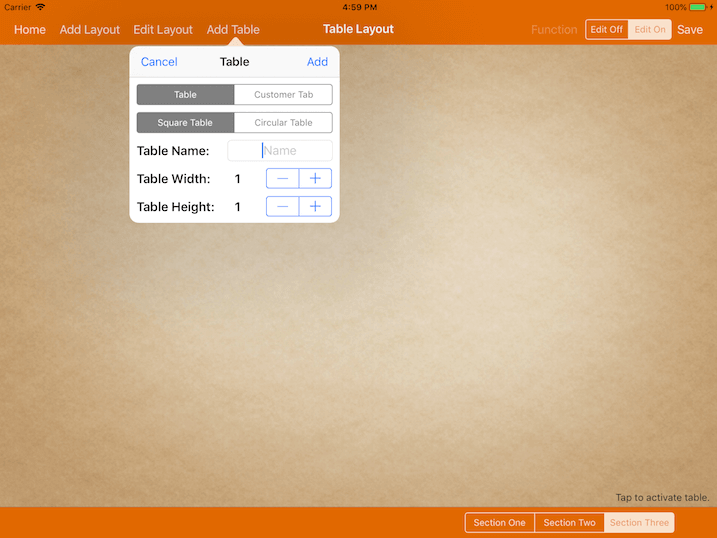
To add a table, click "Add Table" at the top left corner as shown below.
User is required to insert the following information:
Table Type - There are two categories, default (normal table) and Customer Tab.
For the customer tab, the user is required to key in the customer name before starting the bill.
The initial table name in the layout will then be changed to the entered customer's name.
For more information about the customer tab, kindly refer to Operations of Table.
Table Shape - Choice of a square or circular table.
Table Name - Table name to be displayed in bill and kitchen docket.
The table name must be unique for each table.
Upon adding the table, hold and drag the table and move it to the desired location in the layout.
The tables will be aligned to the grid automatically.
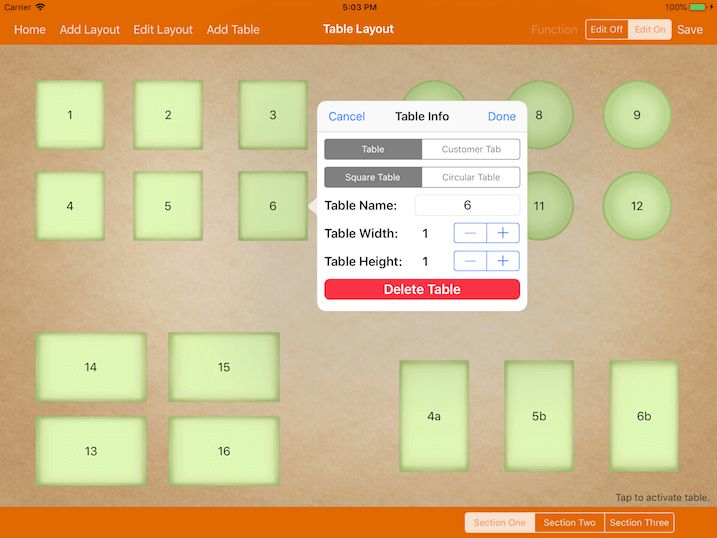
To delete tables or make any changes on the tables, simply tap on the desired tables.
Table Info will be shown as the image below.
User can delete or edit the following table information:
-Table Type
-Table Shape
-Table Name
-Table Width
-Table Height
Upon editing, click on "Done" at the top right corner as shown below.