Guide | MobiPOS > Settings > Settings > Timer
Timer
This feature allows users to set a timer on each bill and alert the user when the time is up.
This timer is set as a countdown timer for each bill and has to be assigned manually.
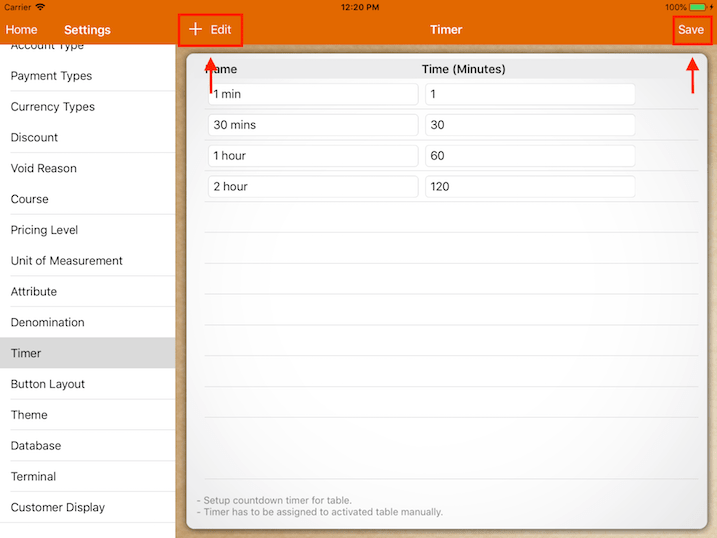
To use this feature, upon logging in, go to Settings -> Timer.
At the Timer page, the user is able to set the time along with its description.
Firstly, tap on + at the top left corner, insert the description and the time in minutes.
After adding, tap on Save at the top right corner as shown below.
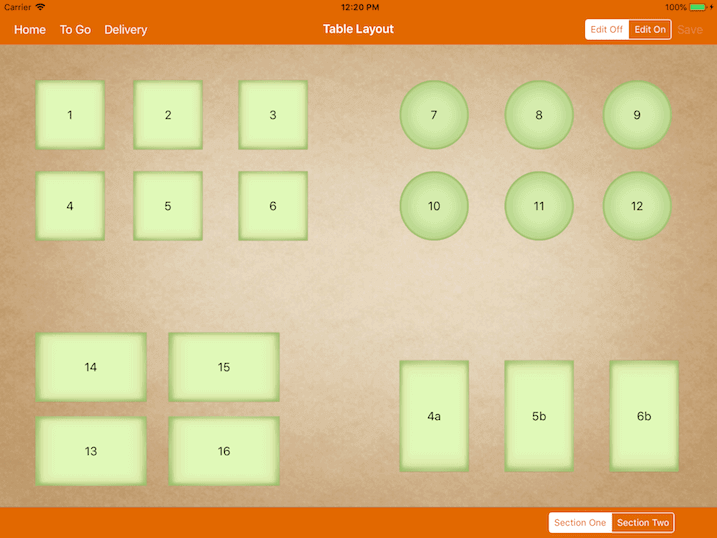
Before using this feature, a bill has to be assigned to the table.
Under Table Layout, select the table and choose the number of customers for that table.
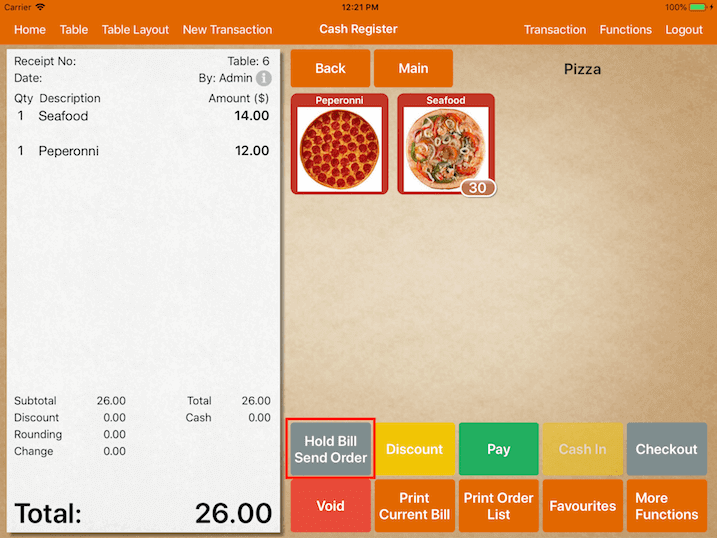
It will direct the user to the cash register page as shown below.
Punch their orders then click on Hold Bill Send Order.
Now heading back to Table Layout page, the table with orders will turn from green to red.
The total amount ordered and the occupied time will also be shown in the table.
Do not get confused with the occupied time and the timer.
Occupied time shows how long this table has been opened, while the timer shows how much time it has left.
In order to activate a timer of the table, the user needs to tap on the table and, table info will be shown.
At the bottom of the Table Info, click Set Timer.

Timer options will be shown as they were set previously.
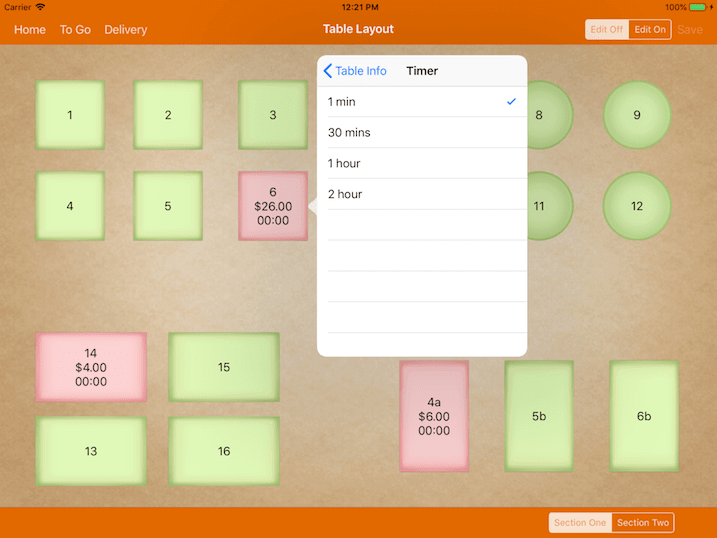
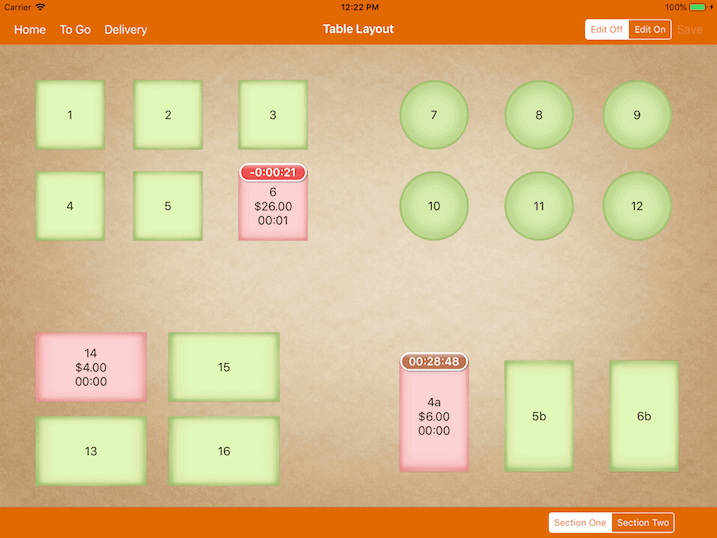
Upon setting the timer, the countdown timer will be shown at the top of each table.
The user is required to set the timer for each table manually. The timer will not be set even if the order has been sent.
When the time is up for the table, the color of the timer will turn from brown to red, with a negative sign showing
how long it has been overdue, as shown below.
The user can also change the timer settings.
However, do note that the timer will countdown according to the time when the first order is made but not when the timer is set.
To disable the timer, tap on the selected table.
At the Table Info page, select Set Timer and untick the time selected previously as shown in the image above.
Lastly, tap on Save at the Table Info page.
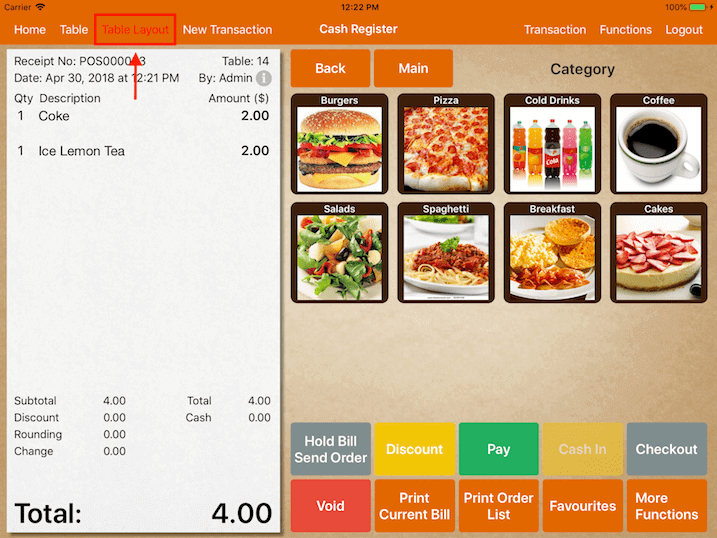
When the time is up for a table, it will alert the user by flashing the "Table Layout" tab in red as shown below.