Guide | MobiPOS > CloudSync > Wallet Integration
Wallet Integration
The wallet integration function allows you to set up Apple or Google Wallet configuration for each of the pass type. By setting up wallet integration, customers can effortlessly add and retrieve their restaurant membership card directly within their mobile wallets.
Configure Wallet Integration
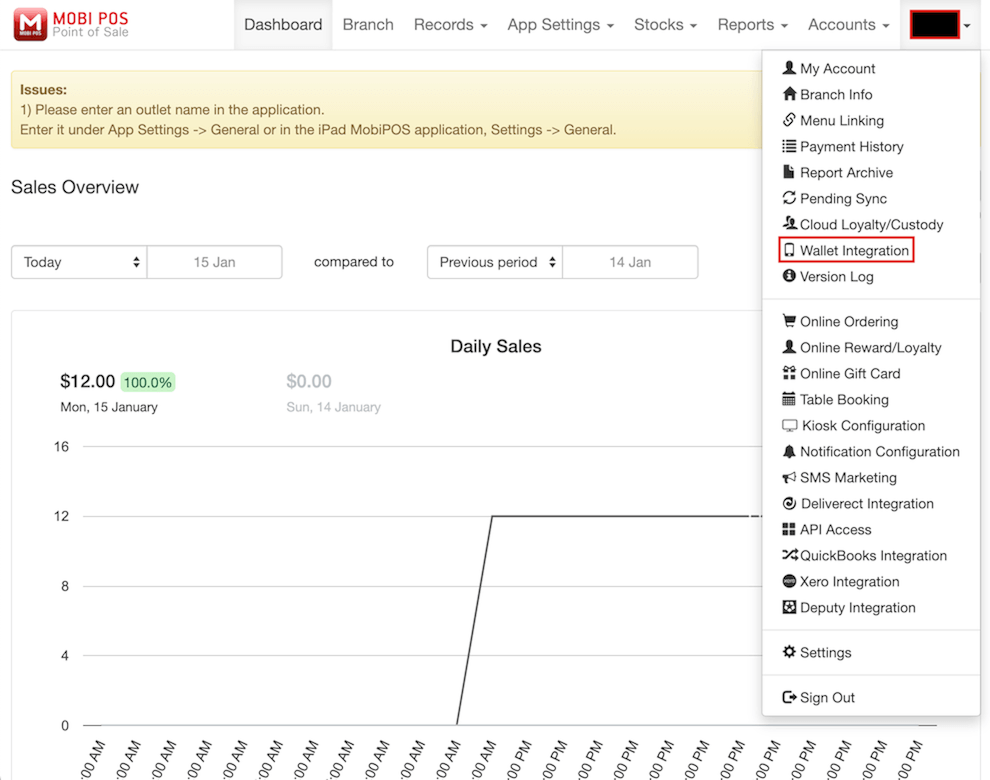
To begin setup, login to CloudSync and click on your username which is located at the top right corner and next to the Accounts dropdown. Under the dropdown, click on Wallet Integration.
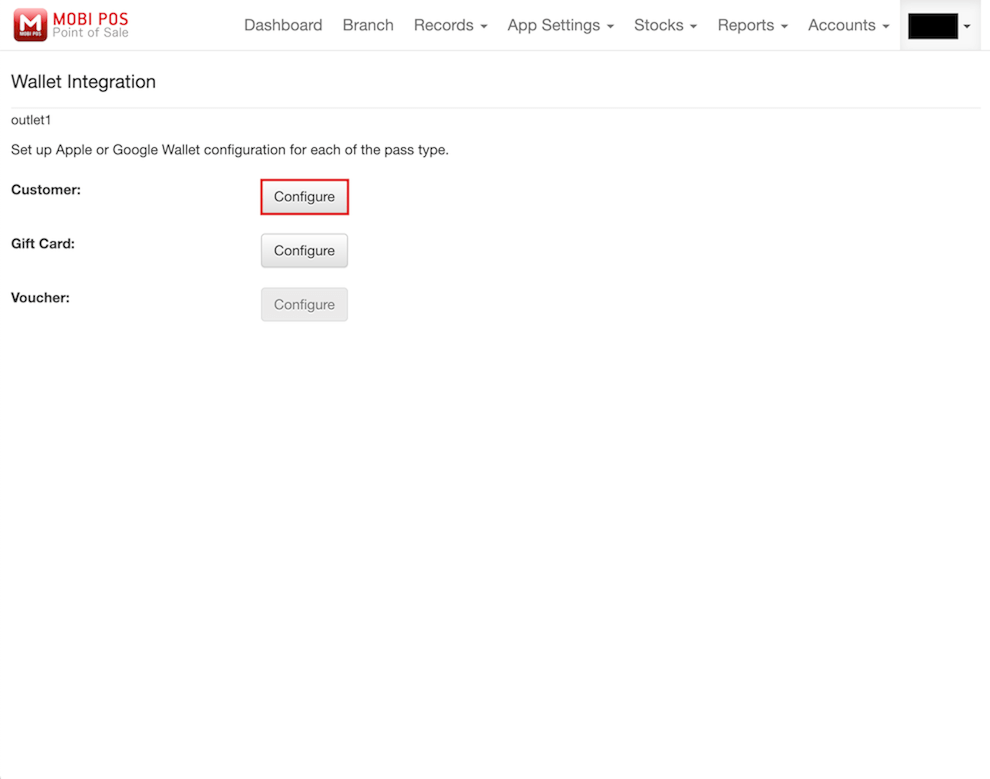
At the Wallet Integration page, click on Configure for the customer pass.
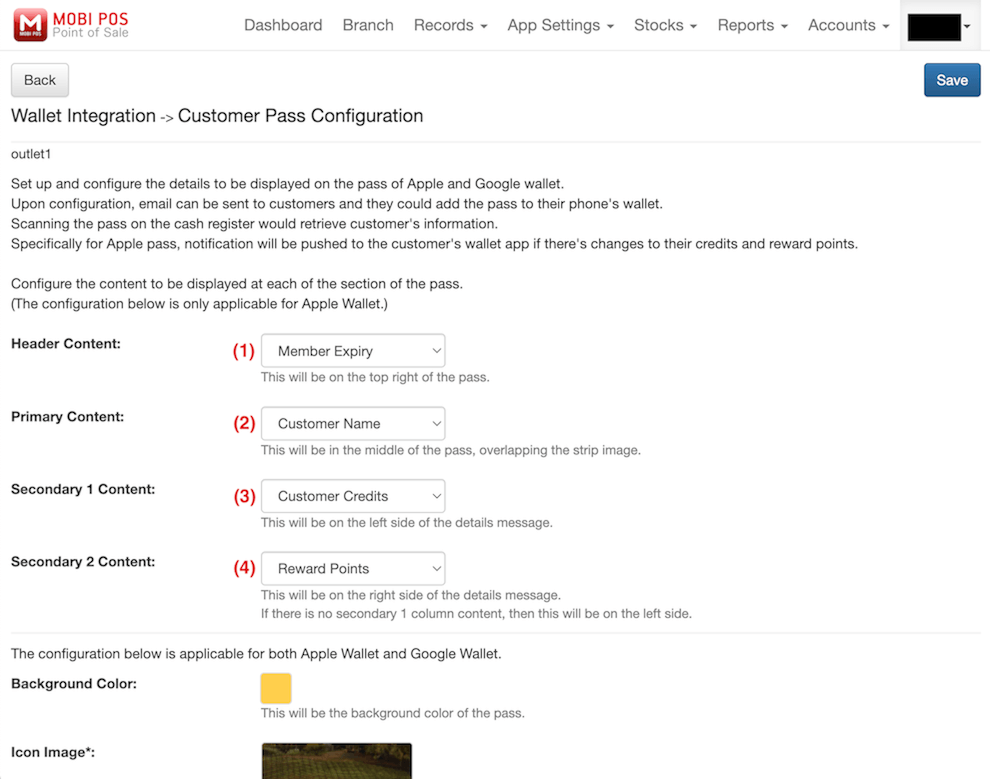
After that, you will be redirected to the Customer Pass Configuration page. You must fill out all fields marked with * to set up the customer pass successfully.
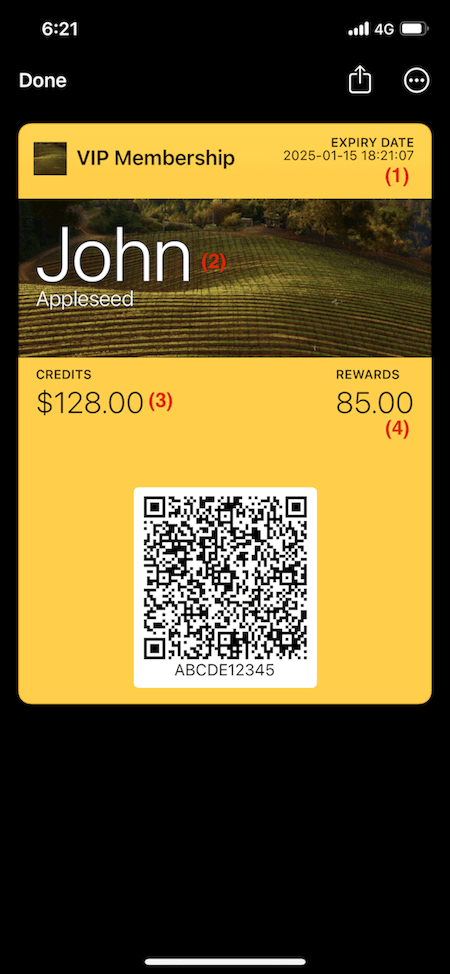
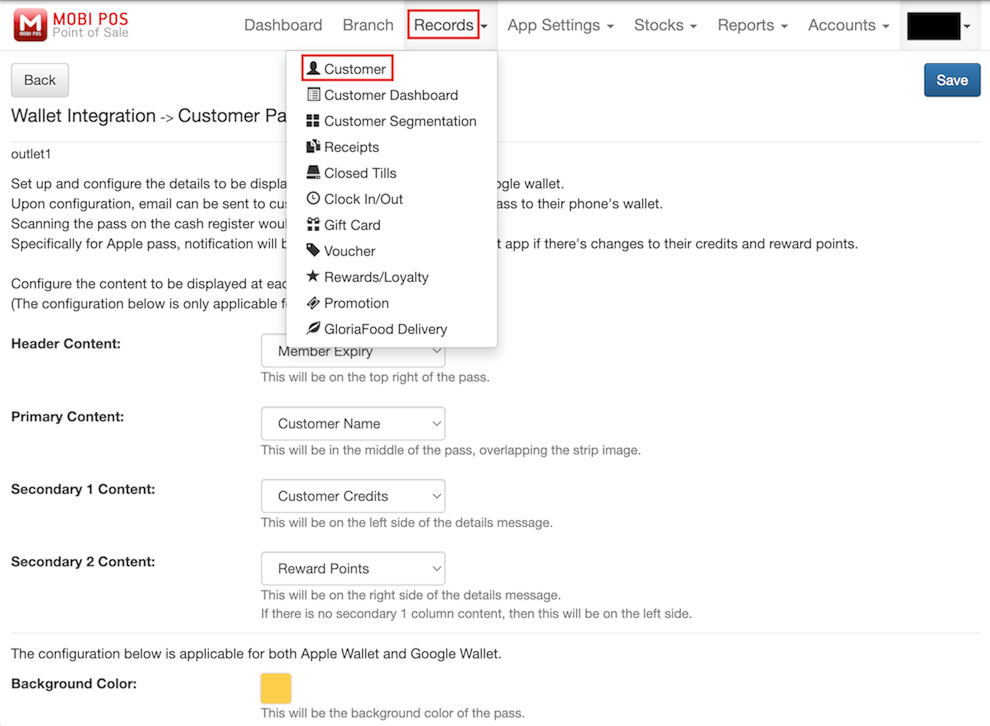
The first section of the configuration allows you to configure the content to be displayed at each of the section of the pass. With the configuration shown, the contents of the pass would be reflected accordingly. Use the provided numberings as references for the corresponding components.
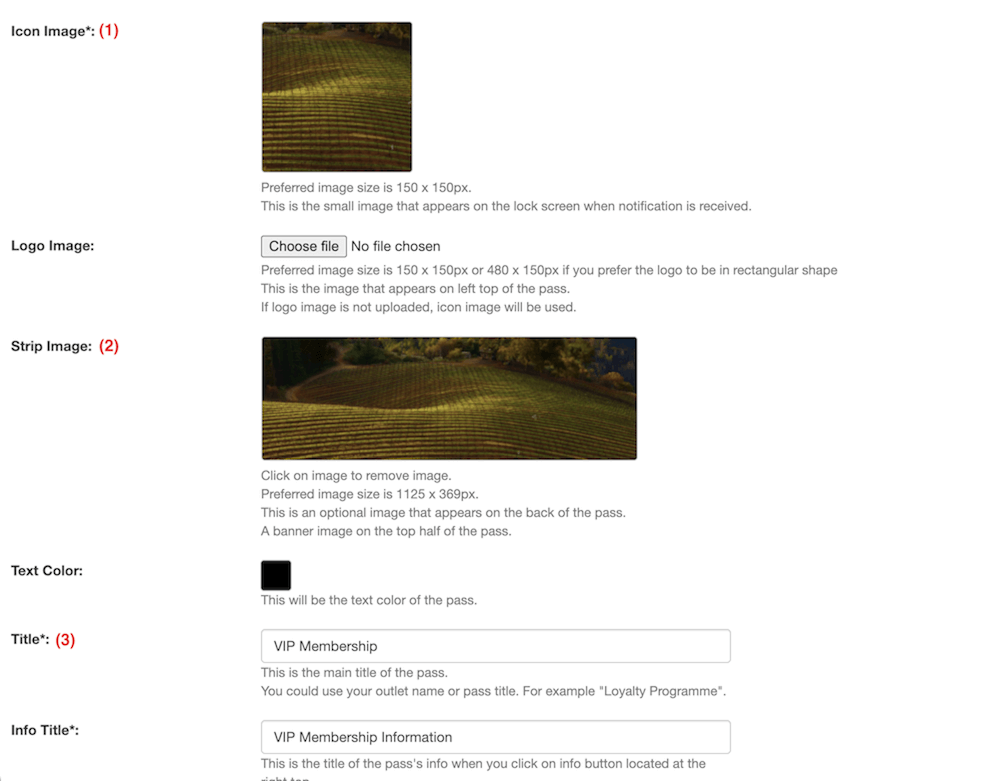
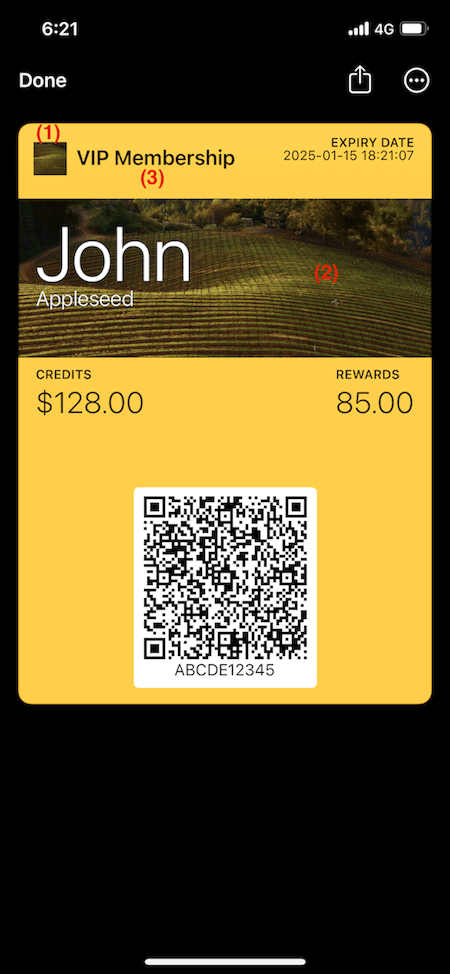
As for the Icon Image, Strip Image, and Title chosen, these components will also be shown in the customer pass. Note that these are important components to assist customers in identifying the pass. Use the provided numberings as references for the corresponding components.
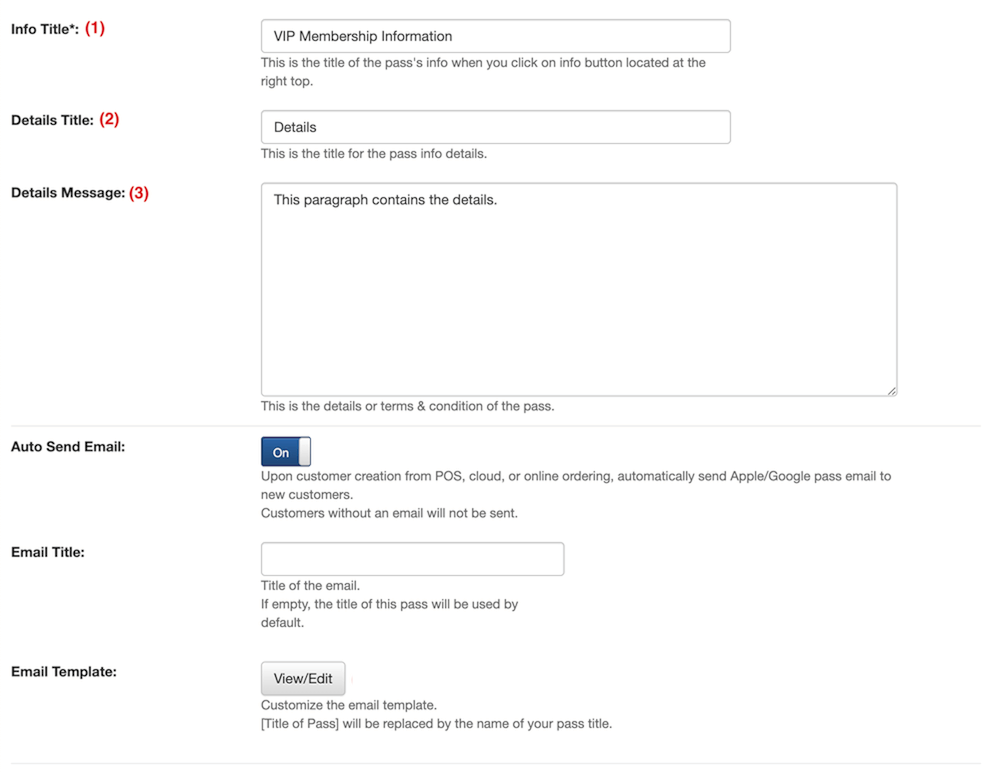
The Info Title, Details Title, and Details Message configured will be shown in the Pass Details section of the pass. Use the provided numberings as references for the corresponding components.

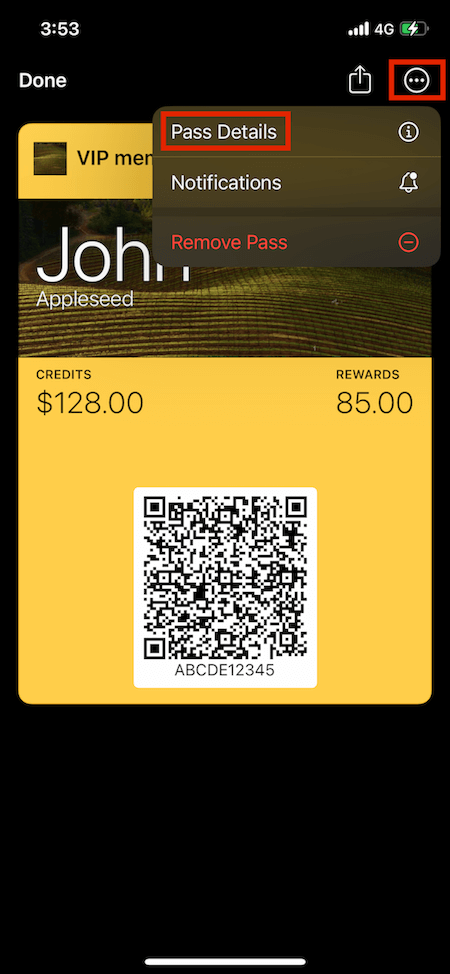
To view the Pass Details from Apple Wallet, click on the triple dot icon on the top right corner of the pass page and click Pass Details.
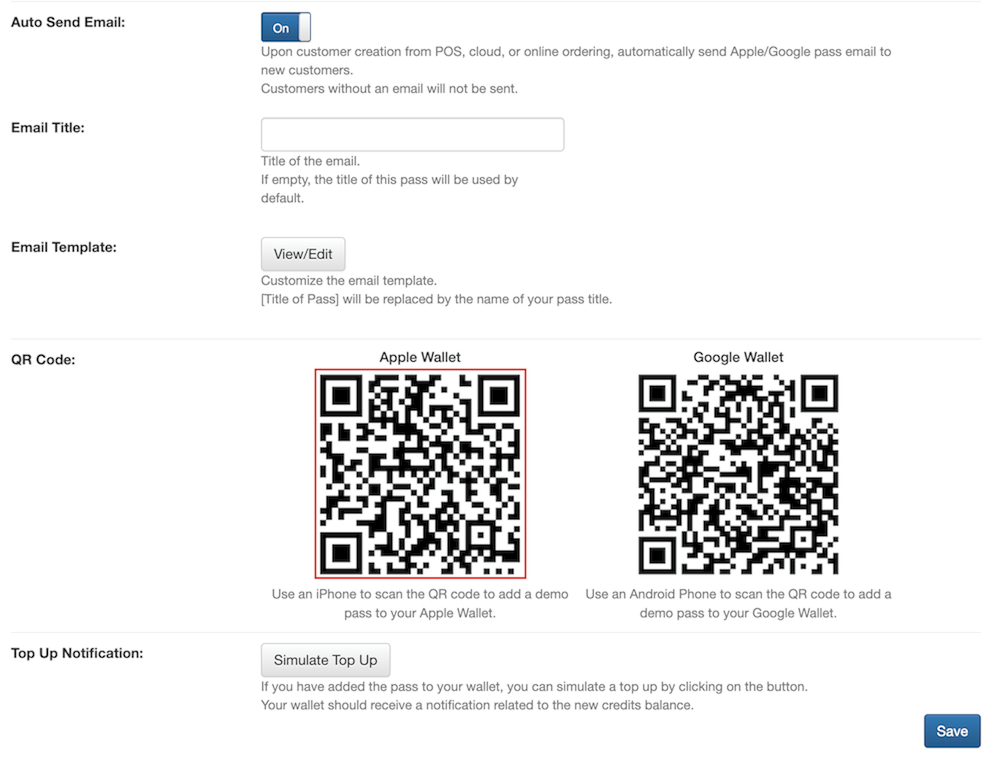
After all details of the customer pass has been filled out, you can scan the QR code generated to add a demo pass to your Apple Wallet.
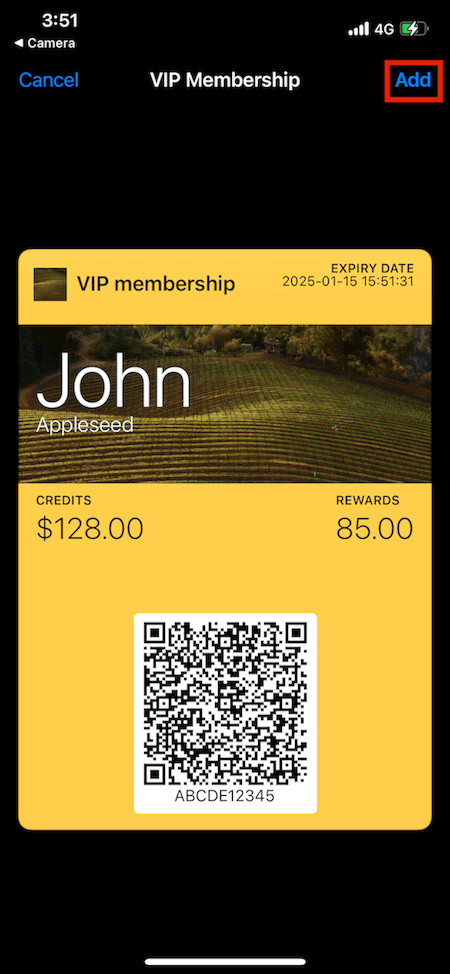
After scanning the QR code, your phone should recognise and display the demo pass. Then, click Add located on the top right corner of the page to add the demo pass to your Apple Wallet. If you have successfully added the demo pass to your Apple Wallet, you should be able to view it in the Apple Wallet application.
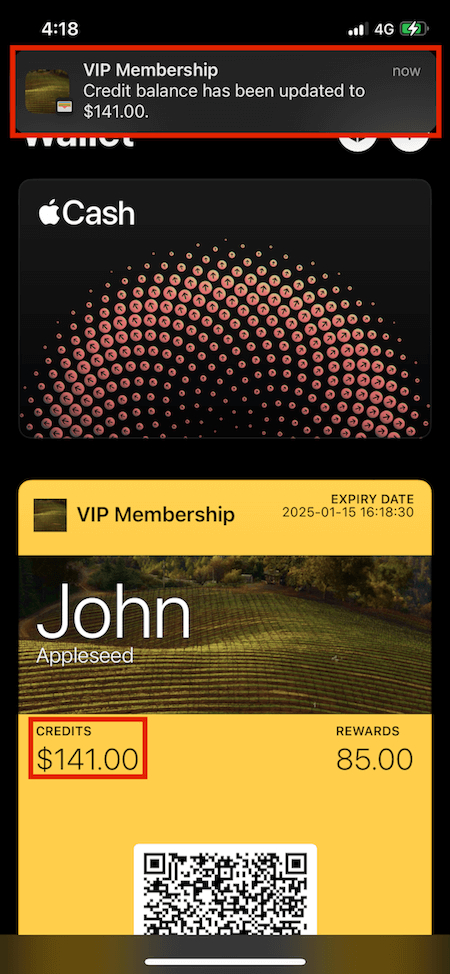
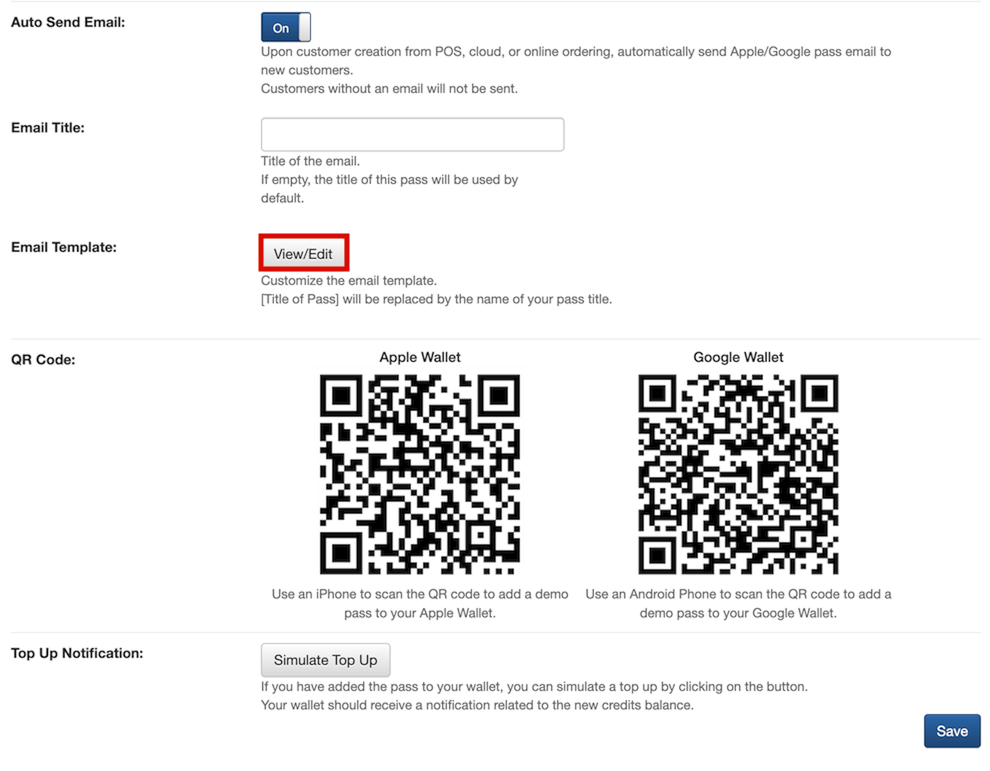
After successfully adding the demo pass, you can simulate a top up by clicking on the button shown here:
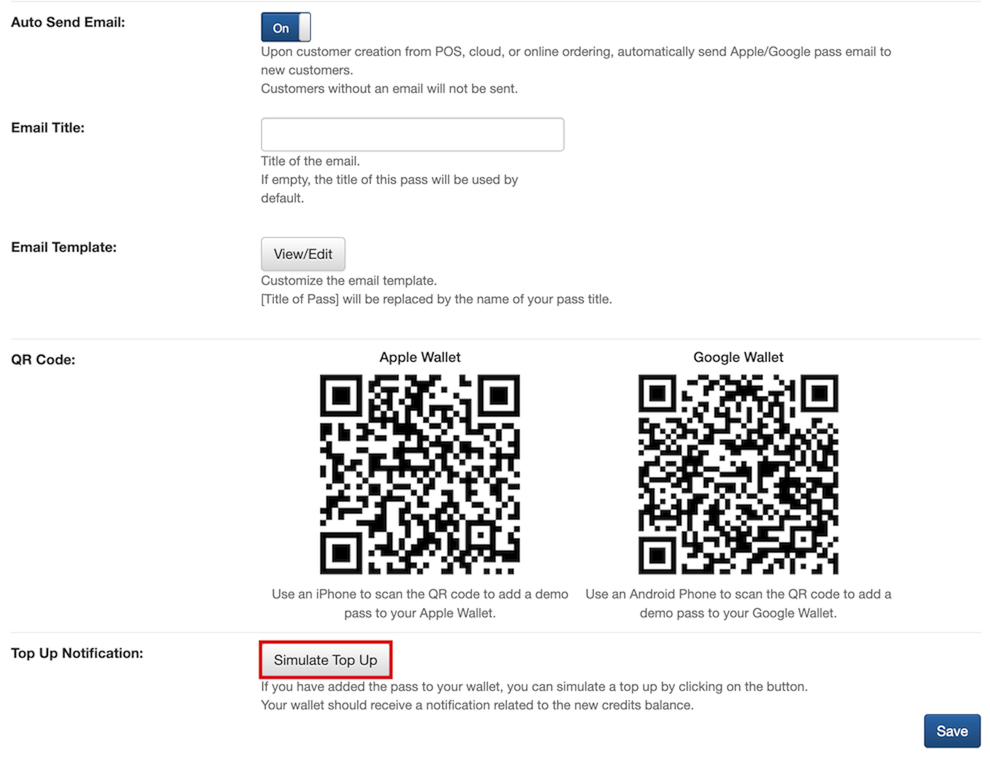
A notification should be sent to your wallet showing updates to the credit balance.
Send Customer Pass to New Customer
To send the customer pass to a new customer, you must first add the new customer via the MobiPOS application. Make sure that Auto Send Email is enabled in the Wallet Integration settings.
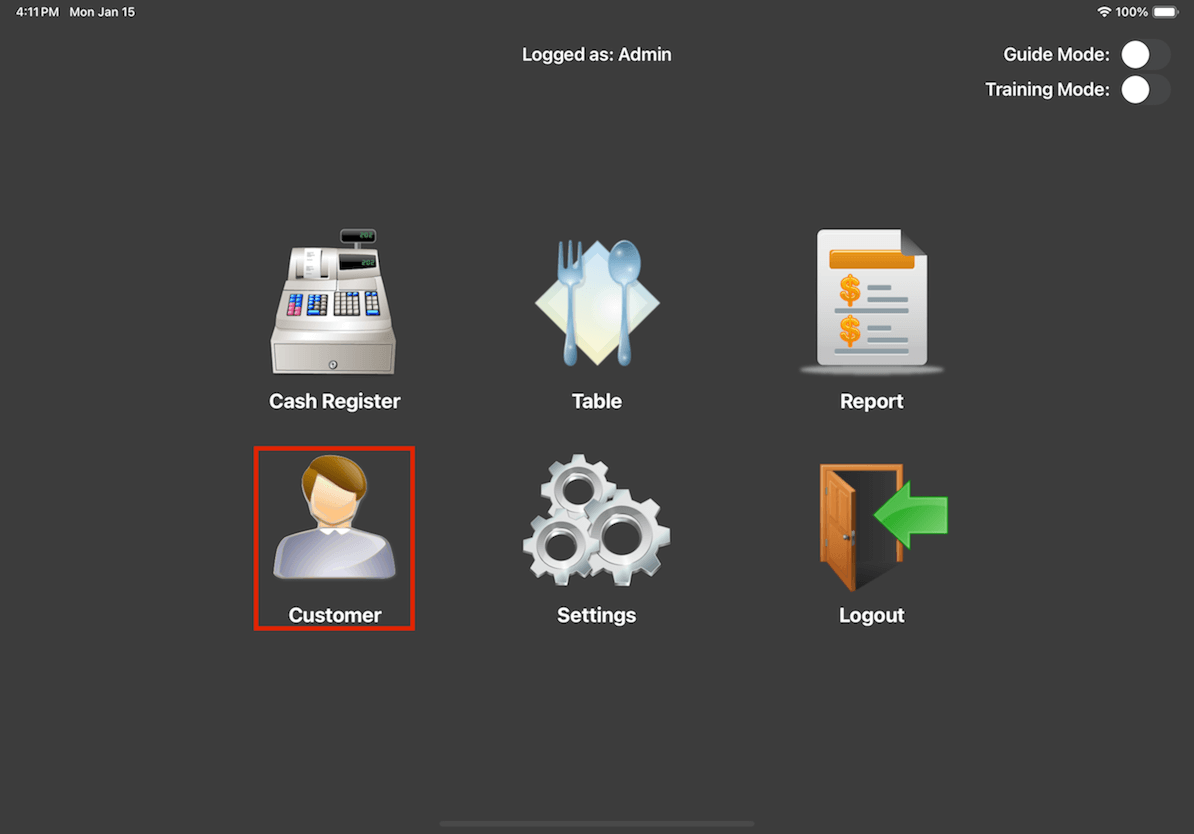
1. Open MobiPOS, log into your account, and click on Customer.
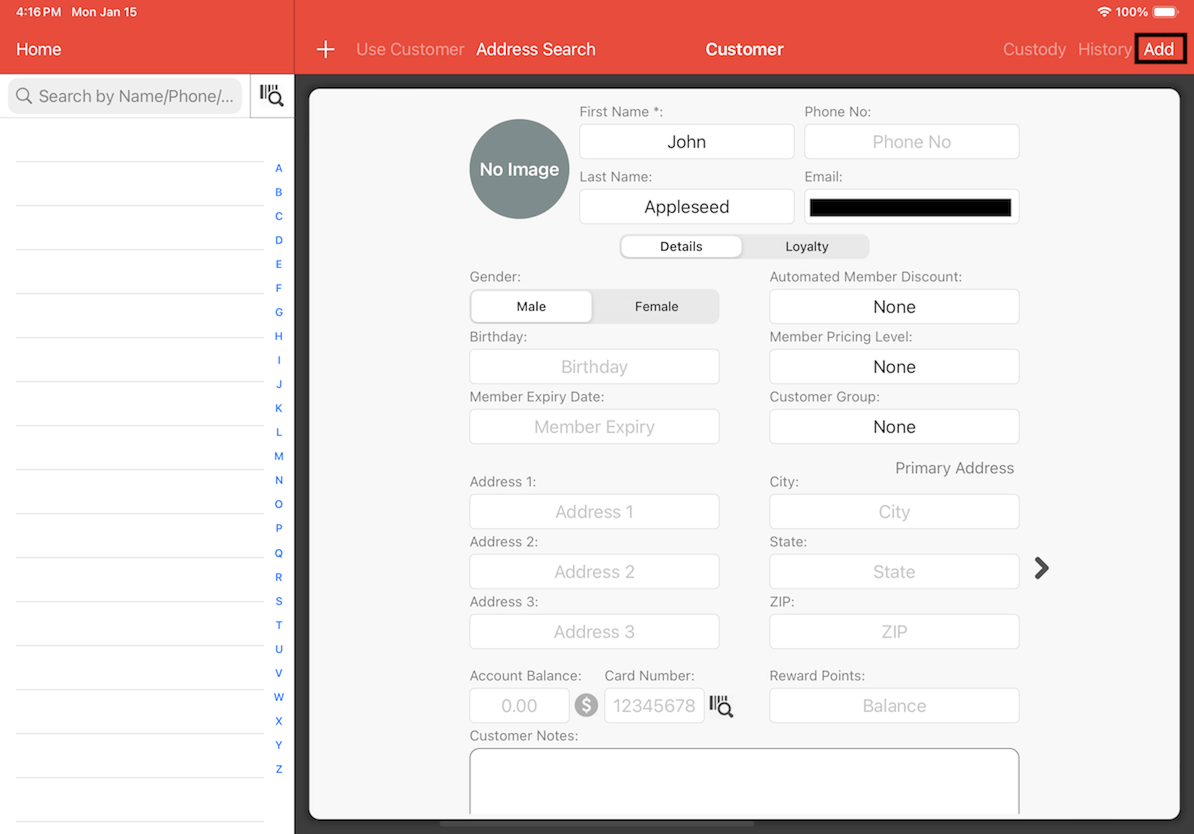
2. When the customer management page is loaded, fill out the details of the new customer in the form provided and click on Add located on the top right corner. Note that the customer’s email must be filled out correctly in order for them to receive the pass.
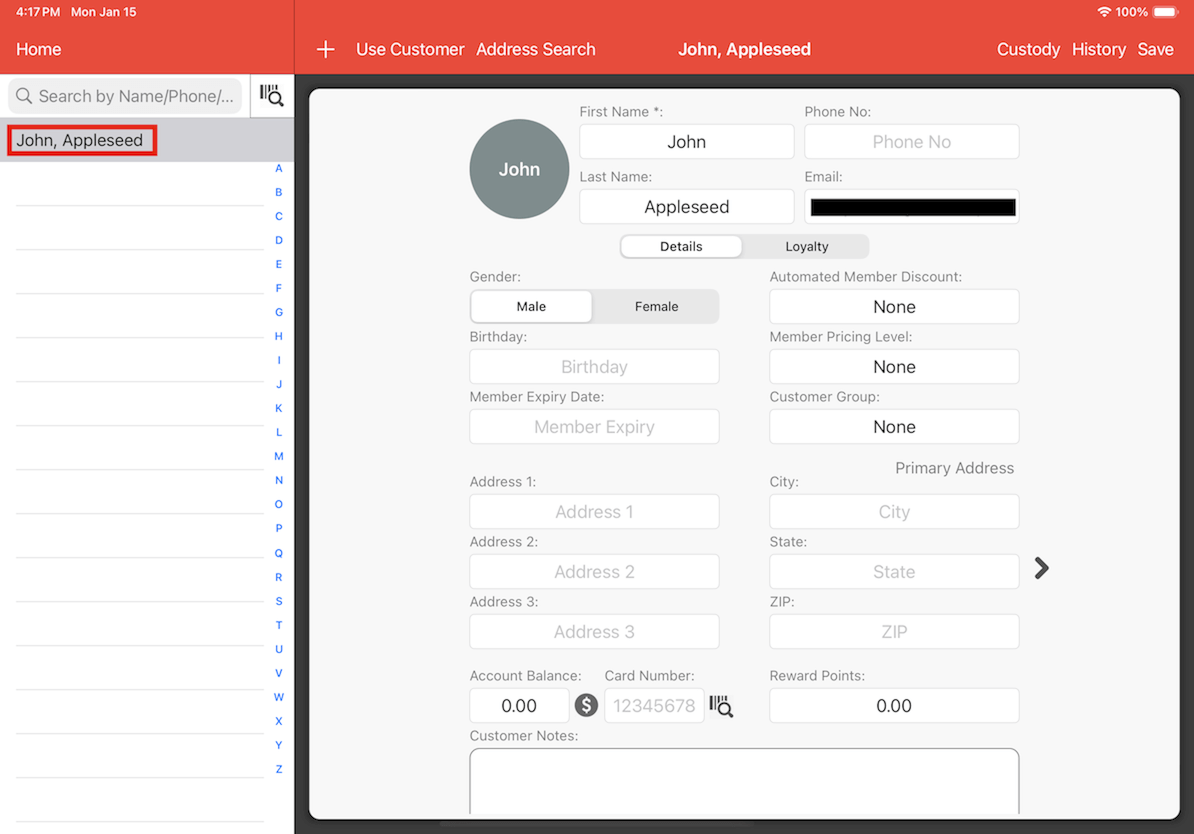
3. Once the new customer has been added successfully, you should be able to see the customer record displayed on the left.
The new customer added should then receive an email granting them access to the customer pass.

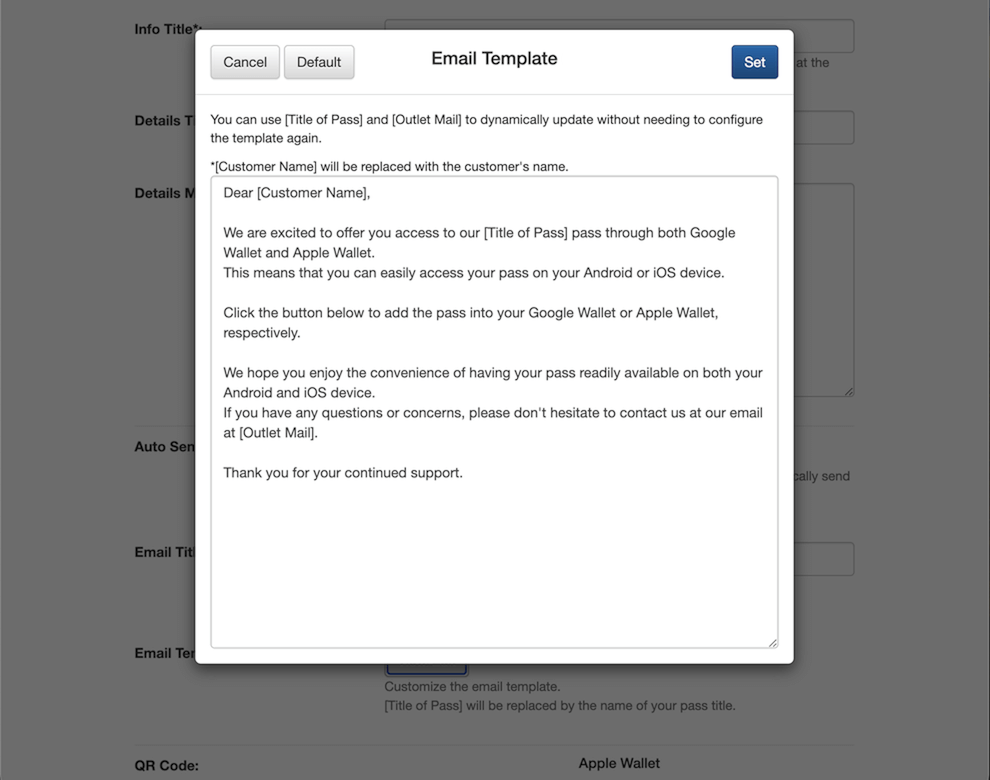
The Email Template sent out to customers can also be configured like so:
Sending Customer Pass to Existing Customers
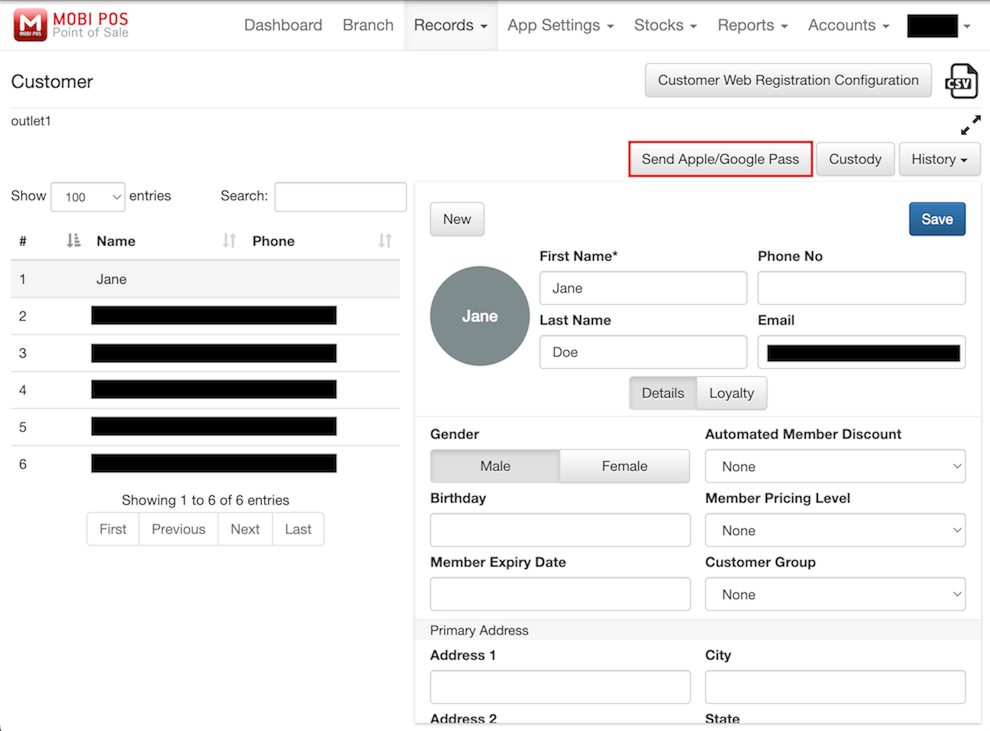
1. Click on the Records dropdown and click on Customer.
2. Select the customer to receive the pass.
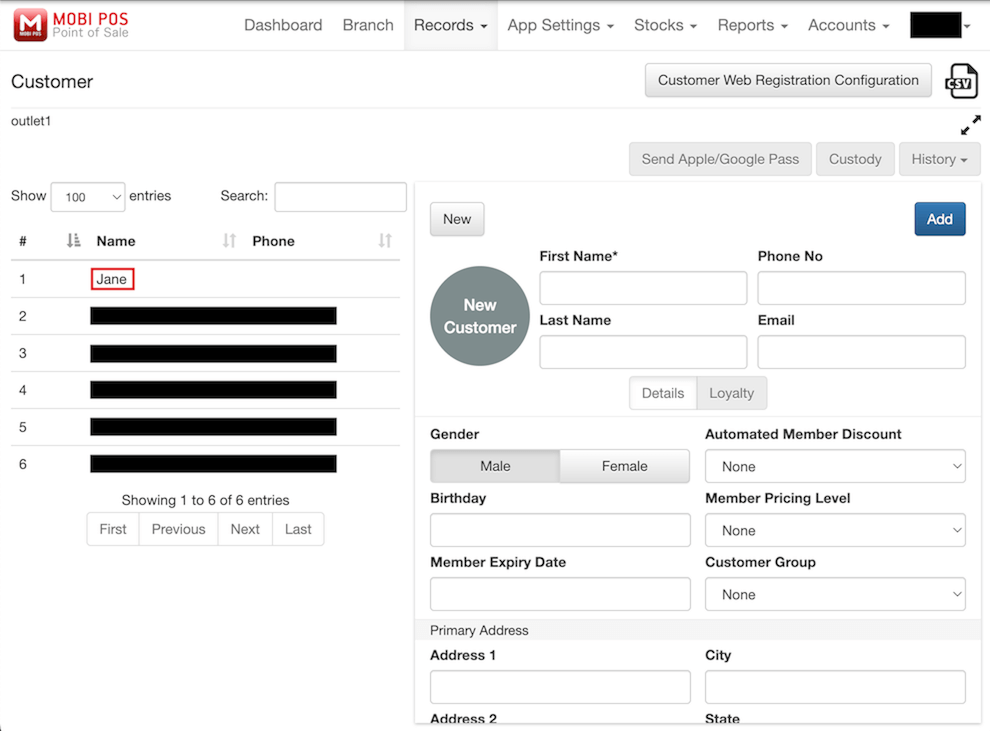
3. Click on Send Apple/Google Pass.
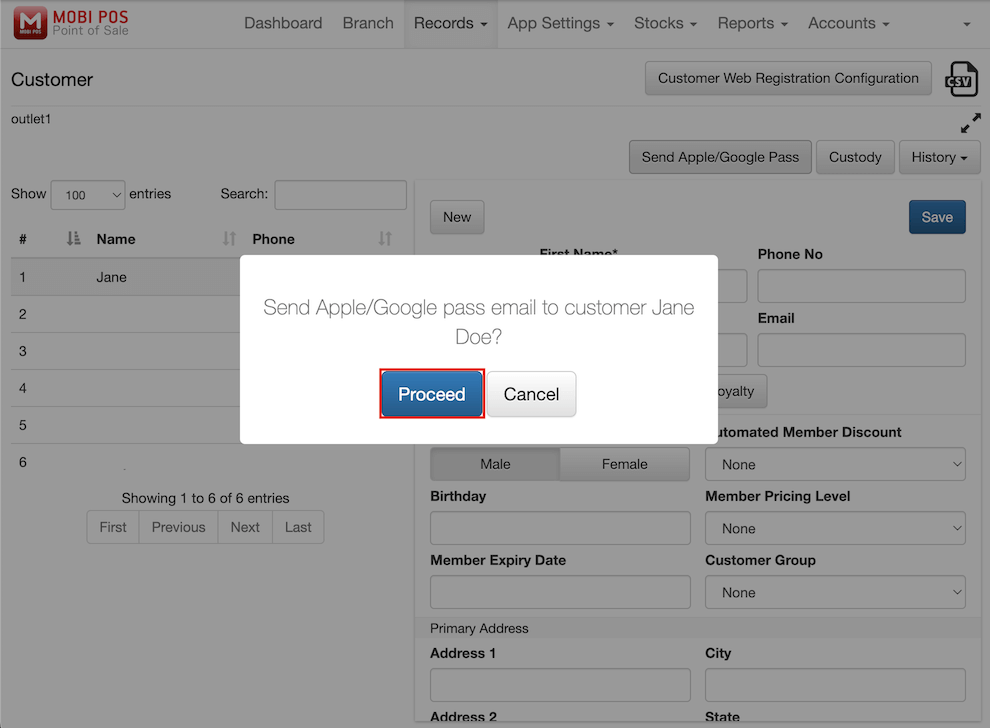
4. Confirm the action of sending the pass email to the customer.
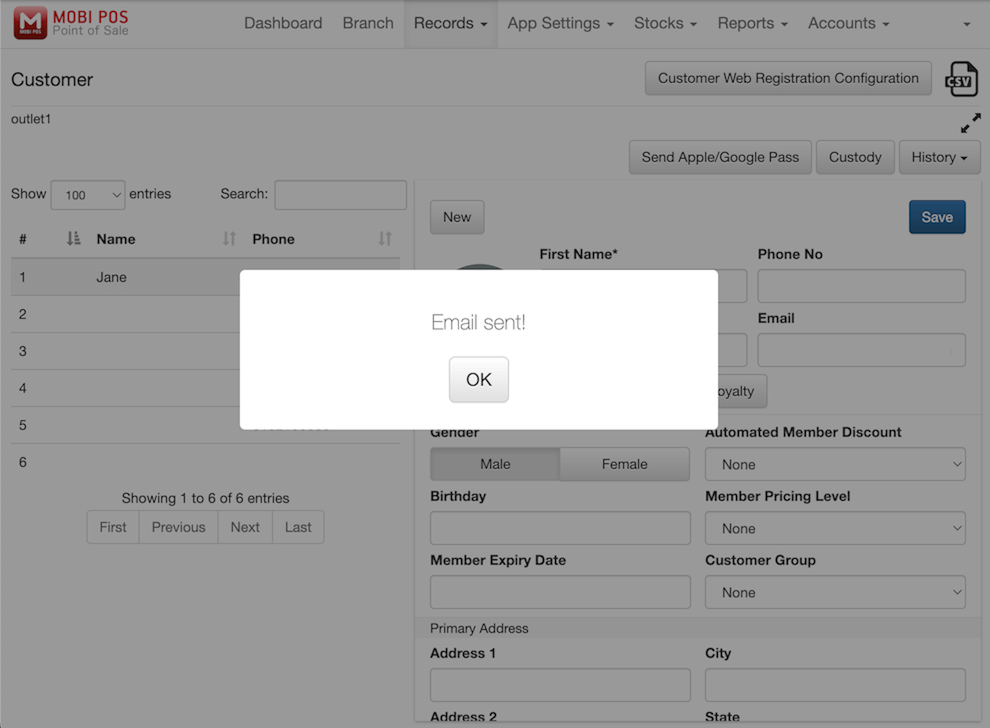
5. Once the pass email has been successfully send to the customer, a pop up message should be displayed like shown:
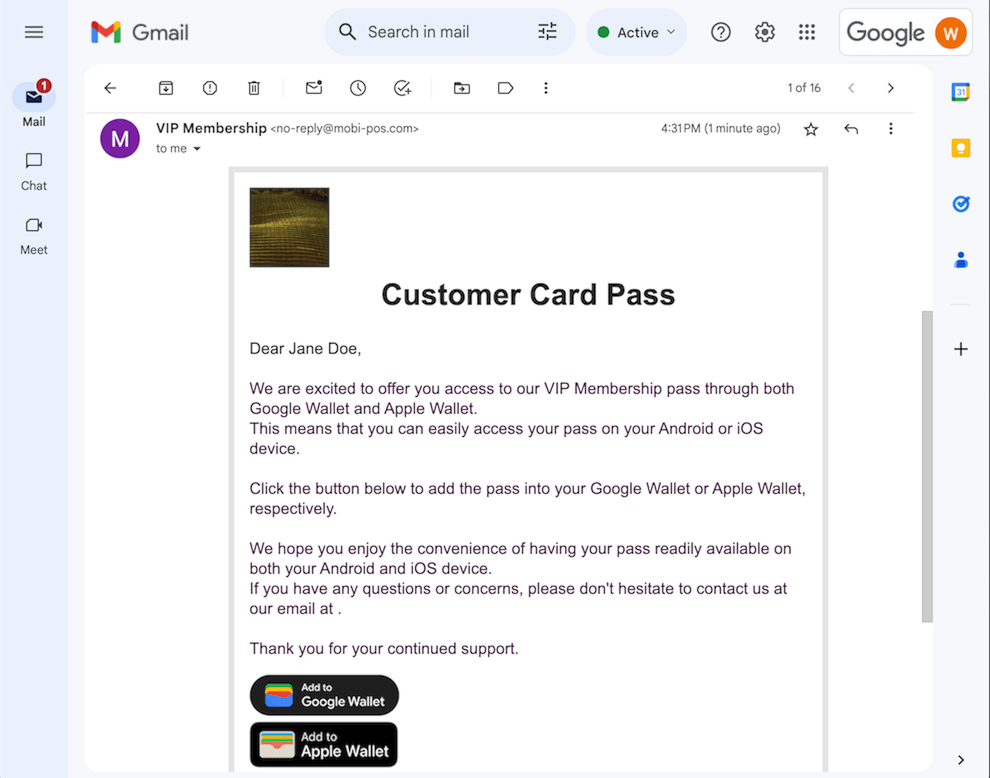
The customer should then receive an email granting them access to the customer pass.
The purpose of implementing wallet integration is so that customers can view and access their restaurant membership passes from their phones. Customers can leverage the pass for various purposes, including accruing points with each visit to the restaurant. Additionally, if there is any changes made to the pass information, automatic updates on the pass will be received through the Apple Wallet.
Applying the Customer Pass
When customers' pay their restaurant bill, they may choose to utilize their restaurant membership pass to access accumulated credits and accrue reward points.
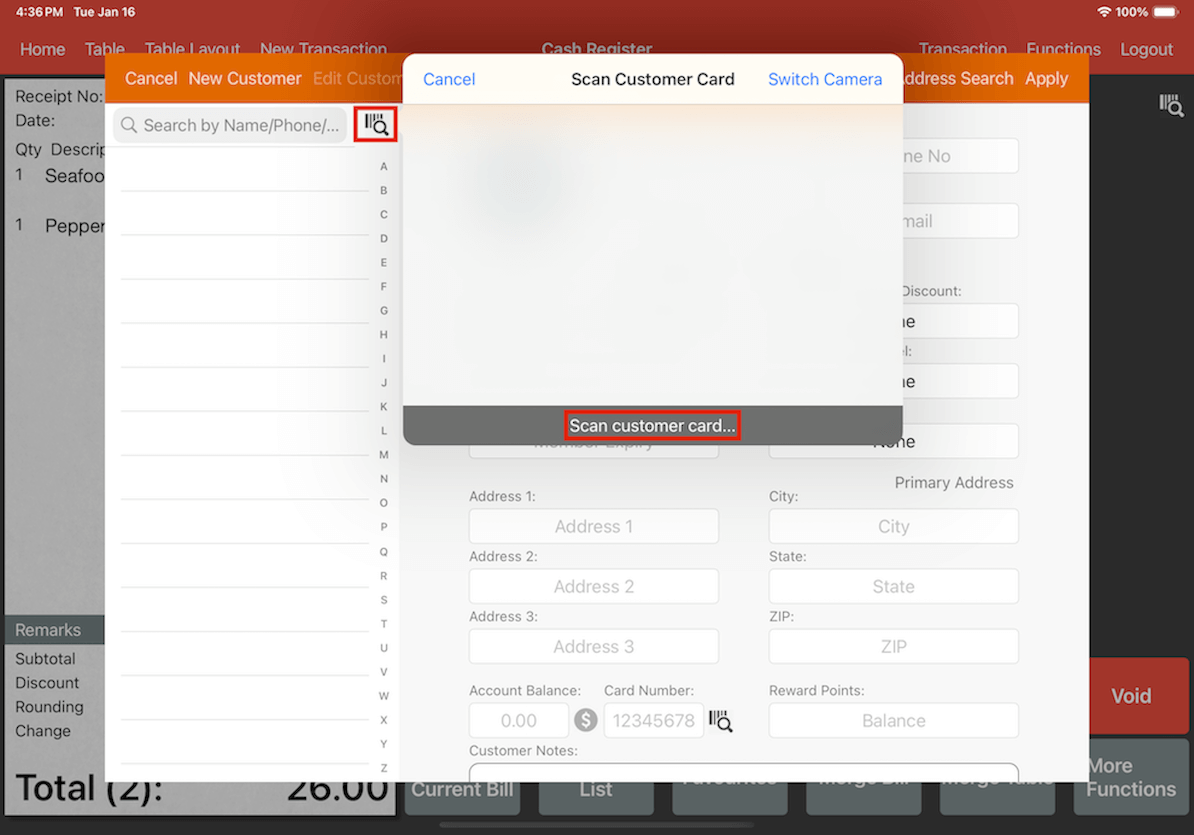
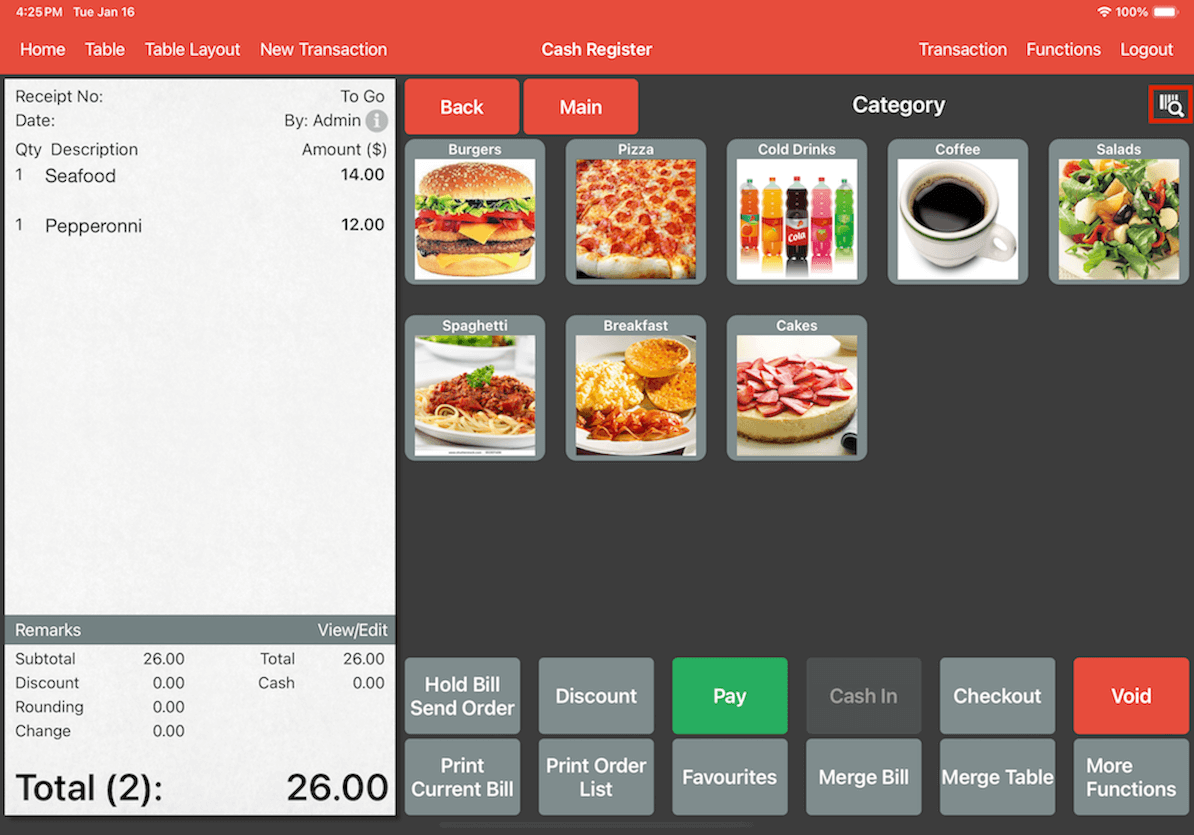
In the Cash Register page of MobiPOS application, click the barcode icon located on the right side of the page.
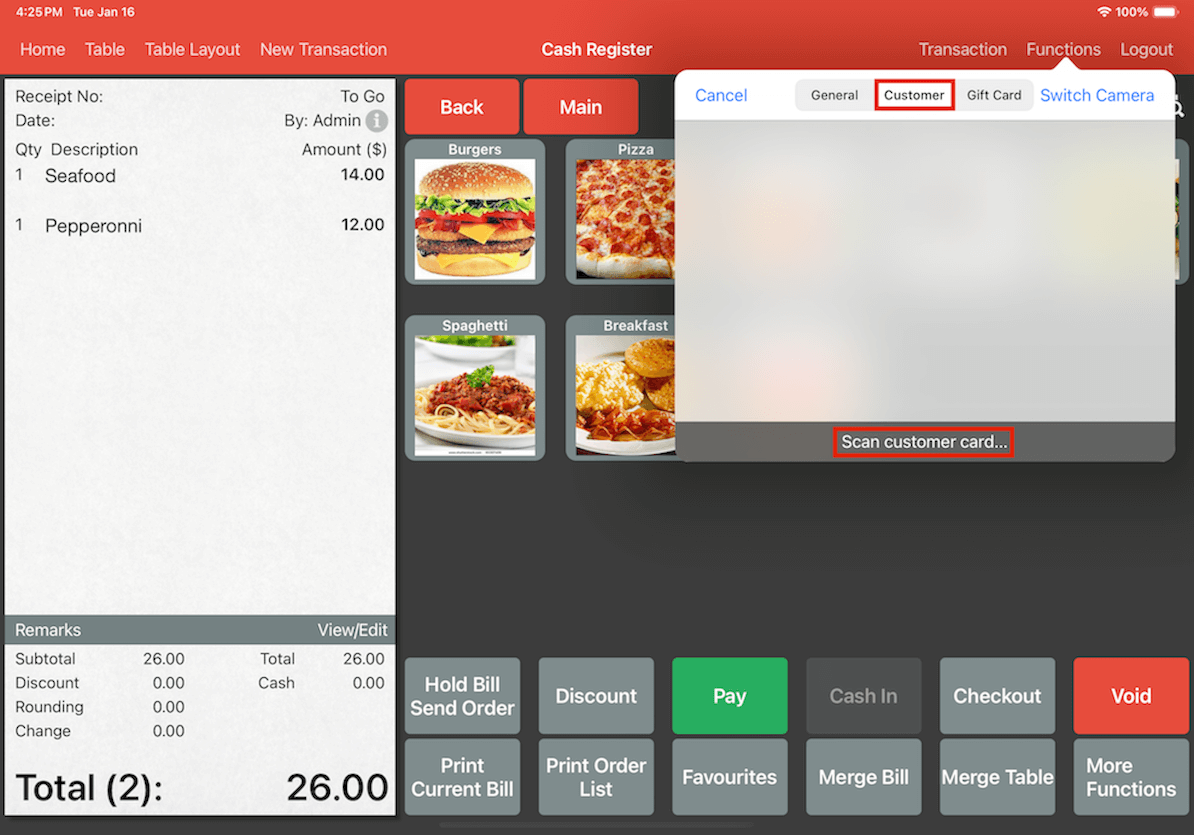
Then, select the Customer tab and proceed with scanning the customer pass. If the scan is successful, the customer pass should be assigned to the bill.
Alternatively, you can also click on the View/Edit option located on the bill.

Then, click the barcode icon and proceed with scanning the customer pass. If the scan is successful, the customer pass should be assigned to the bill.