Guide | MobiPOS > Online Booking > Function > Booking Waitlist via Store Booking Website
Booking Waitlist via Store’s Booking Website
This guide explains how to enable and manage the booking waitlist feature.
Allowing customers to leave their contact when all tables are fully booked, so that they can be contacted when a slot becomes available.
On the CloudSync website, click on the Username located on the right top, then click on Table Booking.

Search for Waitlist in the search bar.
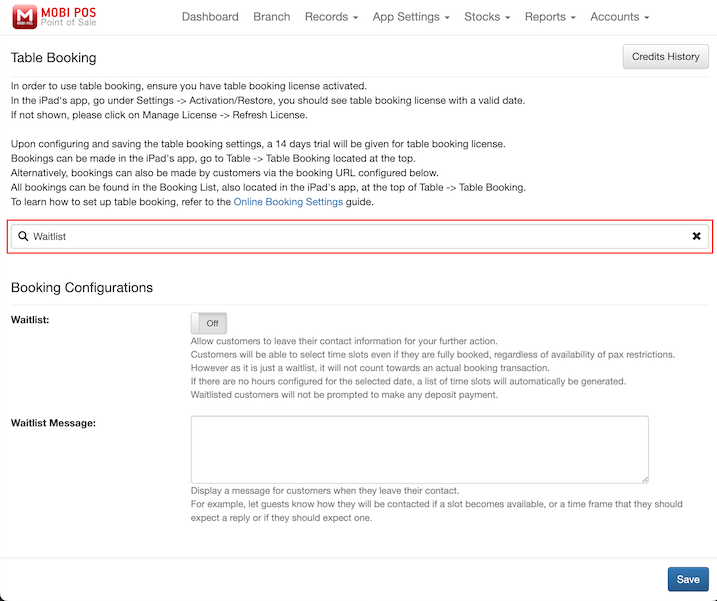
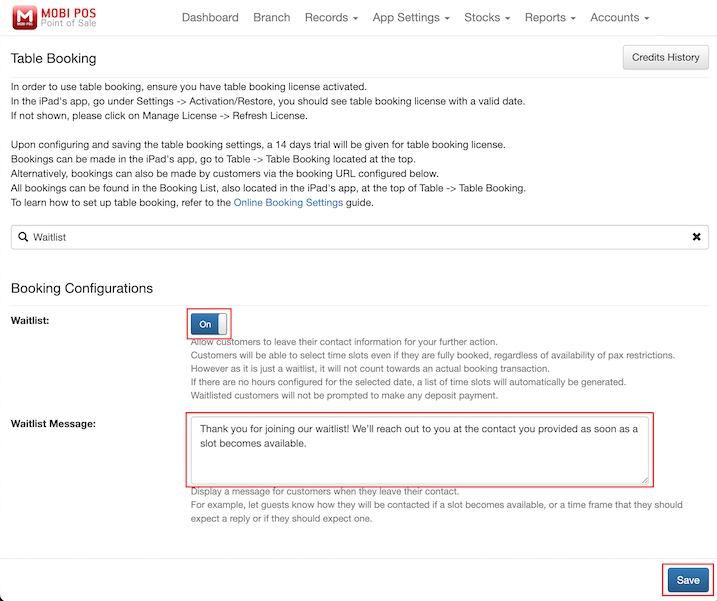
Make sure the On/Off toggle button is switched on, and you may also enter a waitlist message that will be displayed to customers when they join the waitlist before proceeding to save.
Now you can head to the store's table booking website.
If the desired time slot is full, customers can click on the Waitlist button located at the bottom of the selection screen.
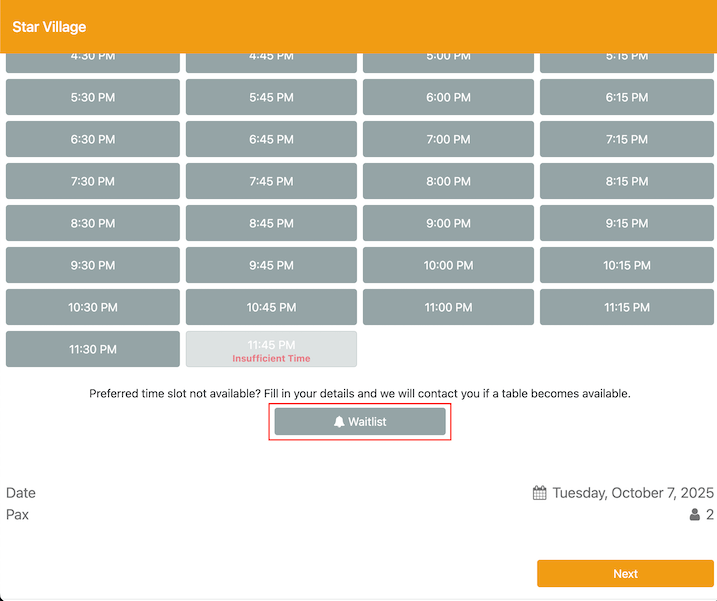
Customers can select their party size, desired date and time, and enter their contact details.
They then click Submit to join the waitlist.
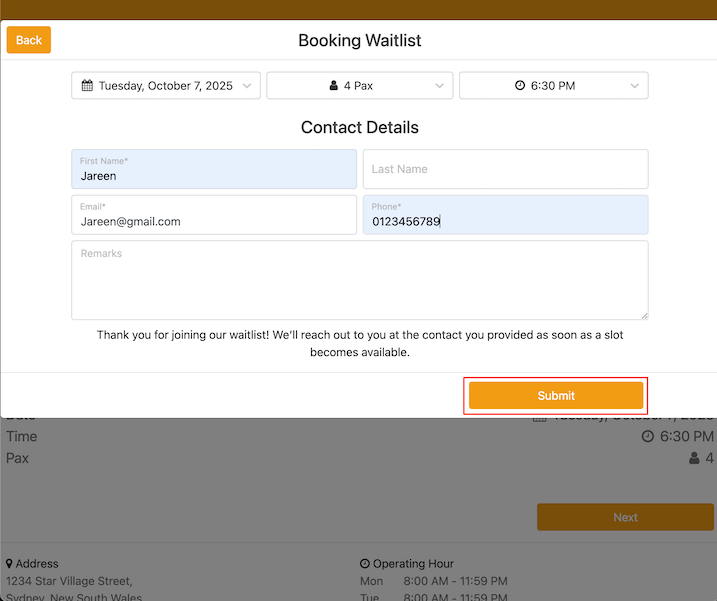
Upon submitting, an email will be sent out to both customer and your configured email.
POS would receive the waitlist notification as well.
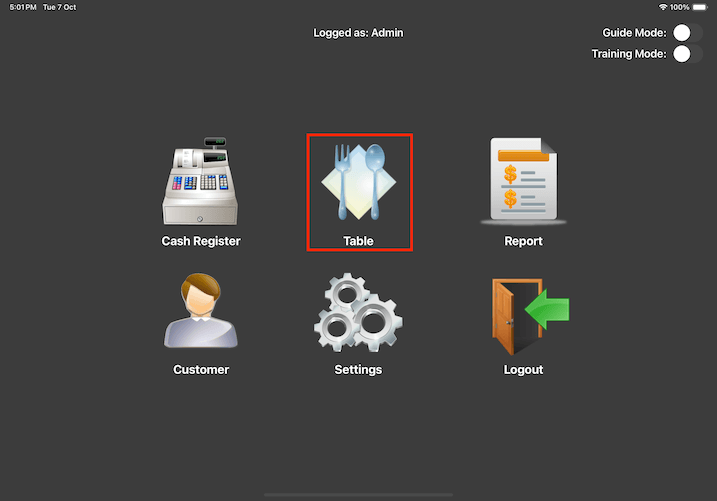
To view and manage waitlist entries, open the MobiPOS app on your iPad and tap on the Table icon from the main menu.
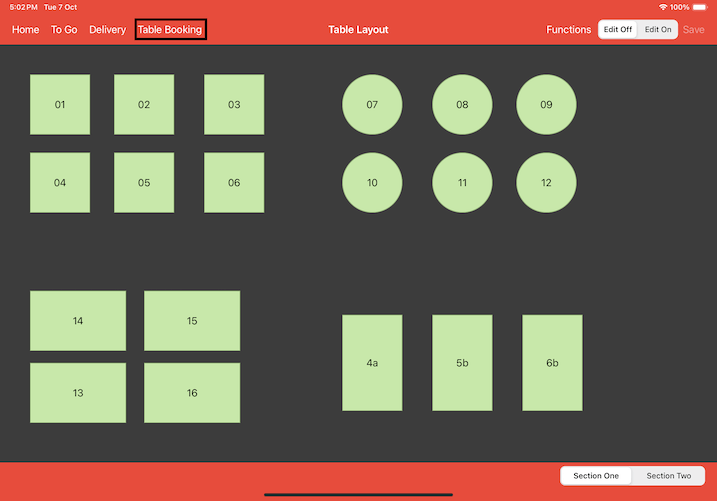
Select Table Booking located at the top of the screen to access the booking interface.
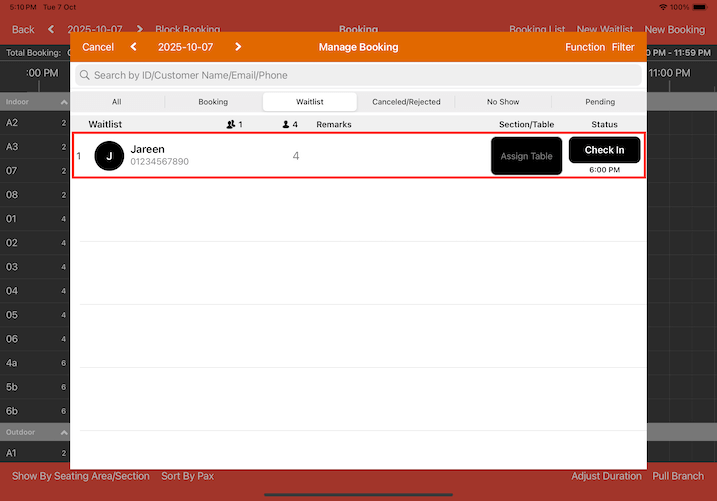
Tap on the Booking List button.
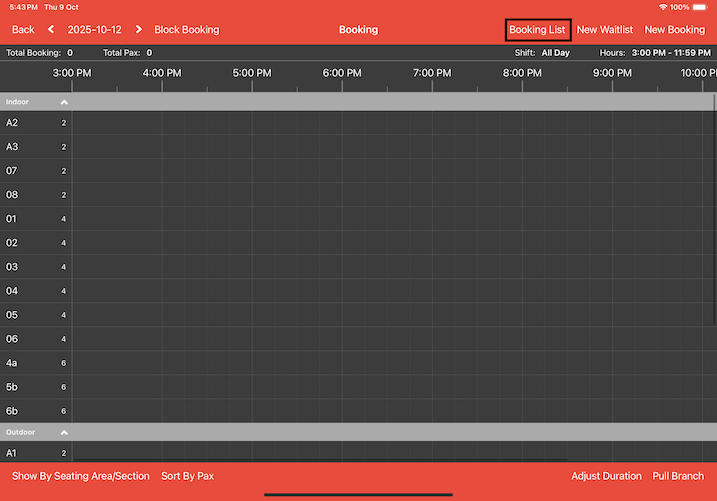
Switch to the Waitlist tab to see the customers who are currently in the waitlist.